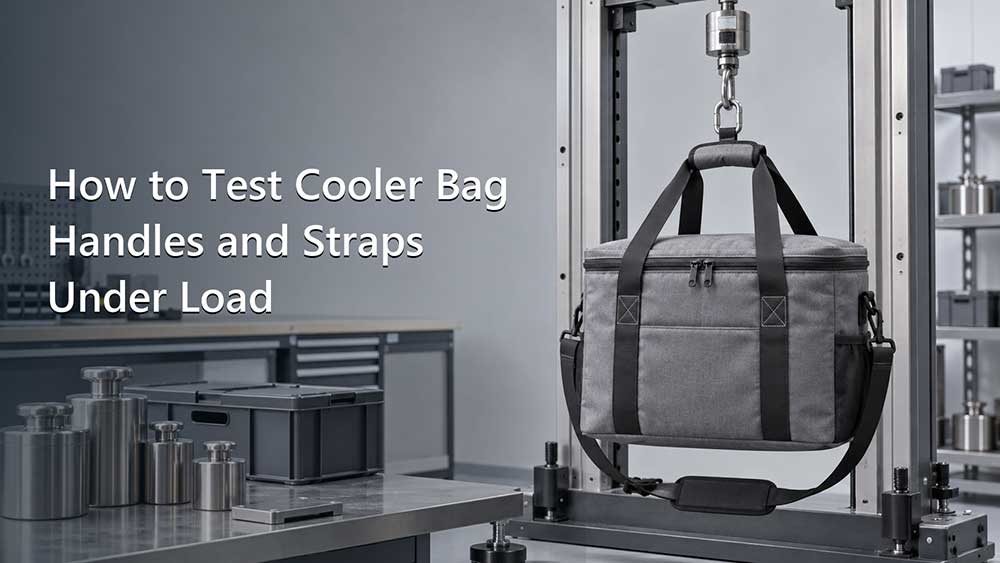
How to Test Cooler Bag Handles and Straps Under Load
A cooler bag may look strong when it is empty but fail after it is filled with drinks, food, and ice packs. The webbing itself is not always the problem. Failures often happen where the handle or strap connects to the bag.
For OEM buyers, a good load test should answer three simple questions:
Can the bag carry the expected weight?
Can the handles and straps withstand repeated use?
Will the bag still work properly after the test?
For an RF-welded waterproof cooler bag, there is one more question: does it remain waterproof after the carrying system has been placed under load?
There is no single test weight suitable for every cooler bag. A small lunch cooler, a delivery bag, and a large fishing cooler have different capacities and carrying conditions. Buyers should therefore agree on the test load, test method, and pass criteria before approving the sample.
These requirements can be added to a custom cooler bag RFQ before the supplier prepares a quotation or sample.
Whether the bag can hold a fixed weight for a set time
Repeated lifting test
Whether the handles become weaker after repeated use
Single attachment point pull test
Whether one handle end, D-ring, buckle, or welded patch can be pulled out
Jerk test
Whether the carrying system can withstand a sudden load
Strap slippage test
Whether an adjustable strap stays at the correct length
Uneven load test
Whether one side fails when the load is not balanced
Post-load leak test
Whether a waterproof cooler still leaks after mechanical testing
These tests check different risks. Passing a static load test does not guarantee that the bag will pass a repeated lifting or jerk test.
1. Decide How Much Weight the Bag Should Carry
Start with the heaviest load that a customer is reasonably likely to put in the bag.
Remember to include:
Food and drinks
Ice or ice packs
Bottles and containers
Removable dividers
Other accessories carried with the bag
The expected carrying weight and the test weight may be different. The test weight can include an extra safety margin, but the buyer and manufacturer should agree on that margin.
Do not copy a fixed weight from another cooler bag. A test used for a small lunch bag may be too low for a large cooler or unnecessarily high for a compact promotional bag.
The specification should clearly state:
Expected carrying weight
Test weight
How the weight will be placed inside the bag
How long the test will last
How many lifting cycles are required
Which handles or straps will be tested
What counts as a failure
Clear instructions make the test easier to repeat during sampling and bulk inspection.
2. Check the Whole Handle Structure
Testing the webbing alone is not enough. The full connection between the handle and the bag must carry the load.
For a sewn cooler bag, check:
Webbing width and thickness
How far the webbing extends into the seam
Stitching pattern
Seam allowance
Reinforcement behind the attachment
Fabric around the stitching
Connection between the side and bottom panels
Buckles, hooks, and strap adjusters
A large bartack may look strong, but it does not guarantee a strong handle. If the webbing does not extend far enough into the seam, it can pull out. If the fabric behind the stitching is too weak, the fabric may tear even when the stitches remain intact.
Similar problems can occur in other load-bearing bags. Our article on preventing backpack shoulder strap failure explains how webbing, reinforcement, and stitching work together.
For an RF-welded waterproof cooler bag, also check:
Welded webbing patches
Welded D-ring bases
External attachment panels
Areas where sewn and welded parts meet
Welded seams close to the handle attachment
A handle attachment can remain in place but still pull or distort a nearby welded seam. This is why strength and waterproof performance need separate checks.
3. Use Samples That Match Bulk Production
The tested sample should use the same materials and construction planned for the actual order.
Confirm that it has the approved:
Exterior material
Lining and insulation
Webbing
Thread
Reinforcement
Buckles and other hardware
Sewing or welding process
Handle position and attachment size
Overall dimensions
A sample with extra reinforcement added only for testing does not represent normal production.
Each tested sample should have an identification number. The test record should also show the product version, test date, materials used, and test result.
If the handle design changes after a failure, give the revised sample a new version number and test it again.
Consider the conditions in which the bag will be used
Some cooler bags are regularly exposed to low temperatures, moisture, or heavy condensation. Where necessary, test the bag after:
Cooling it
Wetting the webbing
Opening and closing it repeatedly
Filling it with realistic chilled contents
Folding it in the same way used for shipping
The test specification should explain the exact conditions. For example, “test after cooling” is not clear unless the temperature and cooling time are also stated.
4. Start With a Static Load Test
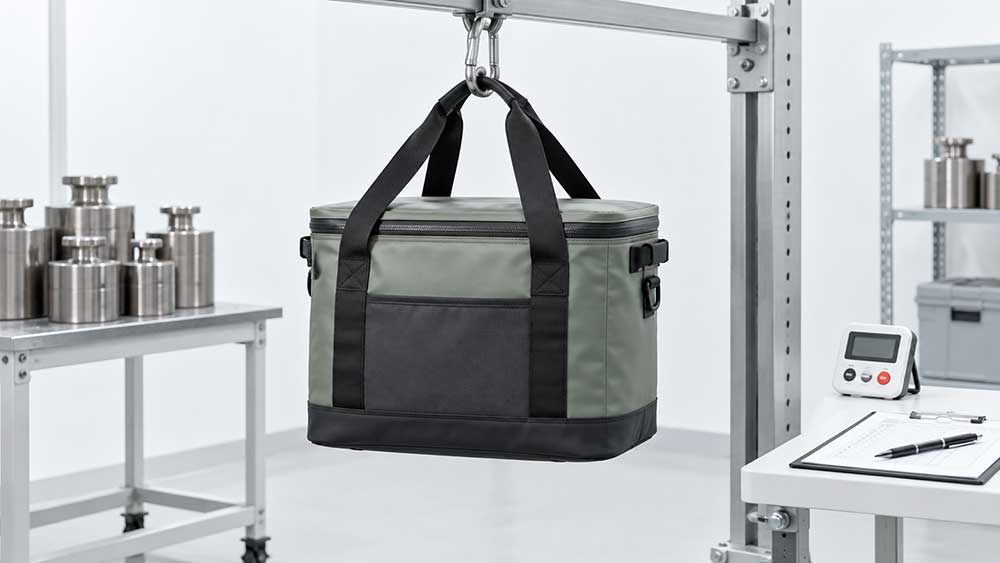
A static load test is the simplest place to start. It checks whether the carrying system can hold a fixed weight for a set period.
A basic procedure is:
Inspect and photograph the empty bag.
Mark the position of any adjustable straps.
Put the agreed weight inside the bag.
Spread the weight in a realistic way.
Close the zipper or lid.
Hang the bag from the handle or strap being tested.
Keep it suspended for the agreed time.
Lower the bag and let it rest.
Inspect the handles, stitching, fabric, and hardware.
Record any damage or movement.
The suspension fixture must be secure, and nobody should stand underneath the bag during the test.
If the bag has several carrying options, test each one separately:
Short carry handles
Shoulder strap
Backpack straps
Side handles
Grab handles
D-rings or hooks
Passing the shoulder strap test does not prove that the short handles are also strong enough.
5. Test Individual Attachment Points
A complete loaded-bag test shows whether the full carrying system works. However, it may not show the exact strength of each attachment point.
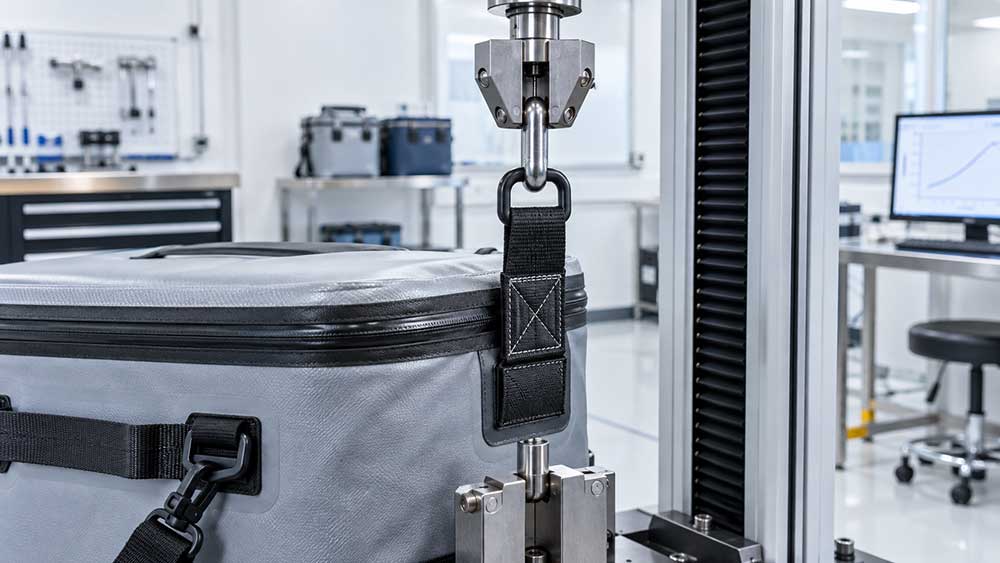
A single attachment point pull test can be used for:
One end of a carry handle
A shoulder strap anchor
A D-ring base
A buckle connection
A welded attachment patch
Secure the bag and pull the attachment in a defined direction with a controlled force. The test should state:
Which point will be tested
Pulling direction
Target force
How quickly the force will be applied
How long it will be held
Number of repetitions
After testing, look for:
Webbing pulling out
Broken or opening stitches
Torn fabric
Moving reinforcement
Peeling welded patches
Bent or damaged hardware
This test helps locate a weak connection, but it does not replace a complete loaded-bag test.
6. Repeat the Lifting Movement
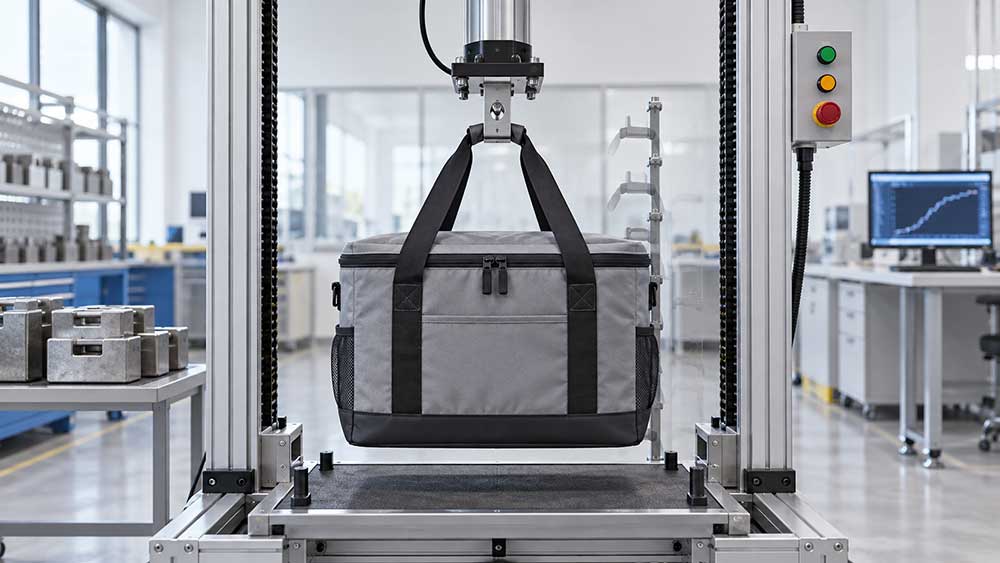
A cooler bag may survive one lift but fail after being carried many times. A repeated lifting test checks how the handle system changes through regular use.
The test should define:
Weight inside the bag
Lifting distance
Lifting speed
Number of cycles
Carrying point being tested
When the bag will be inspected
During the test, look for gradual changes such as:
Stitches beginning to open
Webbing edges starting to fray
Fabric stretching around the attachment
Reinforcement moving out of position
Strap adjusters slipping
Welded patches starting to lift
If a machine is used, the lifting movement should be similar to normal use. A movement that is too violent may create an unrealistic failure, while a movement that is too gentle may hide a real problem.
7. Make the Jerk Test Repeatable
A jerk test checks what happens when the bag experiences a sudden load—for example, when someone quickly lifts a heavy cooler.
Simply writing “perform a jerk test” is not enough. Different people may pull with very different levels of force.
The test instructions should define:
Bag weight
Starting position
Direction of movement
Drop or movement distance
Number of shocks
Time between shocks
Handle or strap being tested
Pass criteria
A jerk test may reveal:
A buckle opening
A hook or D-ring bending
A strap pulling out
Sudden stitch failure
Fabric tearing around an attachment
A welded patch peeling away
For safety and consistent results, the test should use controlled equipment rather than relying on an operator to pull the bag by hand.
8. Measure Strap Slippage
An adjustable shoulder strap may stay attached but still become unusable if it slides through the adjuster.
To check slippage:
Adjust the strap to the required length.
Mark the webbing next to the adjuster.
Measure the starting position.
Apply the agreed load.
Measure how far the webbing has moved.
The specification should state the maximum acceptable movement. “No obvious movement” is open to interpretation, while a measured limit is easier to inspect.
Slippage may be caused by:
Webbing that is too thin
A smooth webbing surface
An adjuster with the wrong slot size
Incorrect webbing routing
Moisture on the webbing
Poor compatibility between the webbing and adjuster
Using stronger webbing does not always solve the problem. The webbing and adjuster must work together.
9. Check Uneven Loading
Users do not always carry a cooler bag with the weight perfectly balanced. They may lift one handle first, pull the bag from a car by its side handle, or carry it while the contents have shifted to one end.
Depending on the design, useful checks may include:
Lifting with one handle
Pulling one strap
Pulling at an angle
Placing most of the weight at one end
Lifting from a side or grab handle
These tests should represent reasonable use, not extreme abuse.
If only one side fails, compare the two attachment points. Check whether the webbing position, insertion depth, reinforcement, stitching, or welding is different.
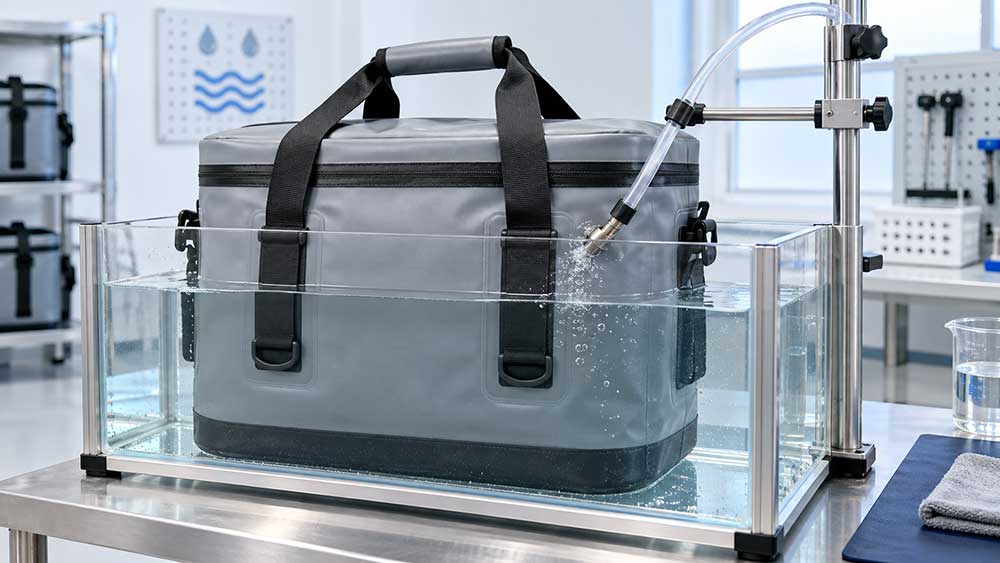
10. Check Waterproof Bags Again After Load Testing
An RF-welded waterproof cooler may pass a leak test before the load test and then leak afterward.
Mechanical loading can stretch or distort areas around:
Welded handle patches
D-ring bases
Seams close to the handle
Corners
Zipper ends
Panel joints
Hard hardware pressing against the bag body
After the handle and strap tests, repeat the agreed leak test and pay close attention to these areas.
The test method should match the product claim. A sewn insulated cooler that only resists light splashes should not be judged in the same way as a leakproof RF-welded cooler with an airtight zipper.
Our guide to inspecting RF-welded seams explains which welding problems should be checked before production.
11. Set Clear Pass-or-Fail Standards
“Looks okay” is not a clear inspection result. The specification should explain exactly what damage is acceptable.
Area
Suggested requirement
Handle or strap
Remains attached and usable
Structural stitching
No broken stitches or opening seams
Bag fabric
No tears, growing holes, or serious permanent deformation
Reinforcement
Does not move out of position
Webbing
Does not pull out or develop serious fraying
Strap adjuster
Slippage stays within the agreed limit
Buckles and hardware
No cracks, opening, loosening, or harmful deformation
Welded attachment
No peeling, cracking, or lifting edges
Zipper or lid
Still opens, closes, and aligns correctly
Waterproof body
Passes the agreed post-load leak test
Not every small appearance change needs to be treated as a failure. The buyer and supplier should agree on the difference between a minor cosmetic change and a problem that affects function, durability, or safety.
Use photos and measurements whenever possible. They make the final decision clearer.
12. Find the Cause Before Making Changes
When a handle fails, the first visible damage may not be the real cause.
Material compatibility, weld area, tooling, welding settings
Bag leaked after testing
Weld distortion, attachment patch, zipper, or panel joint
Adding more stitches is not always the right solution. Too many needle holes can weaken coated fabric. If the reinforcement is too small, a larger stitch pattern may still fail.
After making a change, use the same method to test the revised sample. This makes it possible to compare the new result with the original failure.
13. Test During Sampling and Bulk Production
Do not limit load testing to the first development sample.
Testing can be carried out at several stages:
Development sample
Revised sample
Pre-production sample
First finished production units
In-line or final inspection
Samples used for bulk testing should be selected randomly. They should not be specially reinforced or prepared for the test.
The number depends on the order size, product risk, and whether the test may damage the bag.
For an order of around 100 pieces, the supplier may inspect every bag for appearance, workmanship, and basic function. However, it is usually unnecessary to perform a severe fatigue or jerk test on every unit because the test may shorten its usable life.
For larger orders, general workmanship inspection may follow an agreed sampling plan, such as AQL 2.5. Buyers can read the ANSI/ASQ Z1.4 overview for more information about attribute sampling.
The number of bags used for load testing should still be agreed separately. AQL does not tell the factory:
What load to use
How long to suspend the bag
How many lifting cycles to perform
How to perform the jerk test
How much strap slippage is acceptable
These requirements must be included in the product specification or inspection checklist.
What Should You Do If the Bag Fails?
If a handle or strap fails:
Record the test conditions and failure location.
Compare the failed bag with the approved specification.
Identify whether the cause is related to the design, material, component, or production process.
Decide how the problem will be corrected.
Prepare a revised sample.
Repeat the same test.
Check whether bulk products may have the same problem.
Record the final action and result.
If the failure is found during final inspection, the shipment may need sorting, reworking, another inspection, or a delay. The correct action depends on the number and seriousness of the defects.
The following details can be added to an RFQ or quality specification.
Product details
Product name:
Style number:
Sample or lot number:
Specification version:
Expected carrying weight:
Test weight:
Weight distribution:
Required conditioning:
Carrying points
Short handles
Shoulder strap
Backpack straps
Side handles
Grab handles
Buckles, hooks, or D-rings
Welded attachment patches
Test methods
Static load test
Repeated lifting test
Single attachment point pull test
Jerk test
Uneven load test
Strap slippage test
Post-load leak test
Test settings
Test load:
Test duration:
Lifting distance:
Number of lifting cycles:
Pulling direction:
Target pull force:
Pull-test holding time:
Number of shocks:
Recovery time:
Maximum strap slippage:
Post-load leak-test method:
Acceptance requirements
Permitted stitch damage:
Permitted fabric deformation:
Permitted webbing movement:
Permitted hardware deformation:
Permitted weld movement:
Zipper or closure requirement:
Waterproof requirement:
Photo and report requirements:
Both parties should approve the test method before testing begins. It is much harder to make a fair decision if the test conditions are discussed only after a failure.
Conclusion
A reliable cooler bag handle test should do more than hang a heavy weight from the bag.
The static test checks sustained strength. Repeated lifting checks long-term fatigue. A single attachment point pull test finds weak anchors. The jerk test checks sudden loads, while slippage and uneven-load tests cover common carrying problems.
For RF-welded waterproof coolers, repeat the leak test after load testing. A handle can remain attached while the nearby waterproof structure has already been damaged.
The purpose is not to make one carefully prepared sample survive an undefined heavy load. The purpose is to create a clear, repeatable test that can also be used to check bulk production.
Discuss Your Cooler Bag Requirements With Vancharli Outdoor
Vancharli Outdoor supports OEM and ODM development for both sewn cooler bags and RF-welded waterproof cooler bags. Buyers can confirm the expected load, carrying method, attachment structure, and testing requirements during product development.
Not always. It checks sustained loading but does not show how the bag will perform after repeated lifting, sudden movement, or strap slippage.
How much weight should be used?
Use the maximum weight the bag is expected to carry, together with any safety margin agreed between the buyer and manufacturer.
Should the cooler bag be filled with water?
Controlled weights or filled containers are usually easier to measure and distribute. Loose water may move inside the bag and create an inconsistent test.
Can one sample be used for several tests?
Yes, but the test order must be recorded. One test may weaken the sample and affect the next result. Separate samples are better for severe or destructive tests.
Does stronger webbing make the whole handle stronger?
Not necessarily. The handle can still fail at the stitching, surrounding fabric, reinforcement, hardware, or welded attachment.
Does passing a handle test prove that the bag is waterproof?
No. An RF-welded cooler should be leak-tested again after the load test because the load may damage a nearby seam or attachment area.
Does every finished bag need a fatigue test?
Usually not. Basic workmanship can be checked on every unit for a small order, but severe fatigue and jerk tests are normally performed on an agreed number of samples.
What should be included in the test report?
The report should include the sample number, test load, method, duration or cycle count, before-and-after photos, measurements, results, failure location, and any corrective action.








Comments are closed