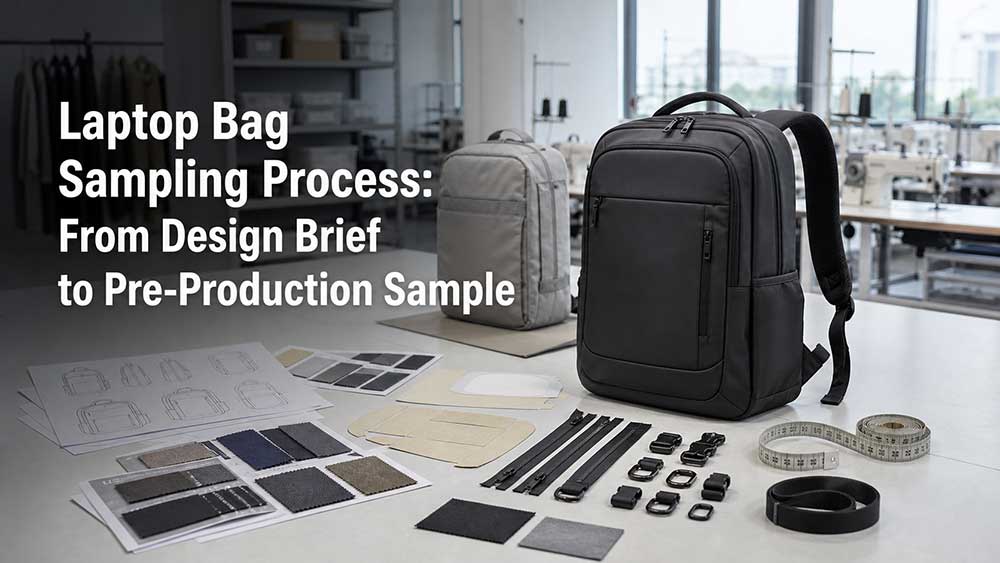
Laptop Bag Sampling Process: From Design Brief to Pre-Production Sample
A laptop bag sampling process turns specifications, sketches, and material ideas into a product that a brand can hold, load, test, and approve. The process usually moves through design review, feasibility assessment, material confirmation, pattern development, prototype evaluation, revisions, specification freeze, and pre-production sample approval.
For buyers, the purpose is not to receive a perfect-looking sample as quickly as possible. It is to settle the important decisions before fabric is purchased, components are cut, and the production line has to repeat the design across hundreds or thousands of units.
A computer compartment cannot be judged from the outside dimensions of a bag. Foam, lining, binding, folded seams, and the shape of the opening all reduce usable space. A compartment may appear correct on a drawing but become too narrow once those layers are assembled.
Protection also involves more than placing two foam panels around a device. The design must consider the base, lower corners, opening, closure, internal hardware, and how the laptop is held in position. Meanwhile, the rest of the bag still needs enough room for chargers, documents, and other work essentials.
This creates several questions that the sample must answer:
Can the intended device pass through the opening and sit correctly inside?
Does the protective structure cover the agreed areas?
Is the bag balanced and comfortable under a realistic load?
Do the chosen materials and components work with the intended construction?
Is the design practical to reproduce during bulk manufacturing?
The answers rarely come from photographs alone. They come from measuring, handling, packing, and revising a physical product.
Laptop Bag Sample Stages at a Glance
Sample terminology is not completely standardized. One manufacturer may use “prototype,” while another uses “development sample” for the same stage. A buyer should therefore confirm what each sample is intended to prove instead of approving it by name.
Stage
What it needs to prove
Material status
Buyer’s decision
Development prototype
Overall dimensions, structure, access and basic function
Final or disclosed substitute materials
Continue, revise or change direction
Revised sample
Agreed corrections work without creating new problems
Closer to final production specification
Accept the design or request another revision
Pre-production sample
The final materials, construction, branding and details are ready for production
Final approved components, except for documented exceptions
Authorize or hold bulk production
Retained approval sample
Production and inspection teams have a physical reference
Matches the approved PP sample
Use as one part of the production standard
A straightforward modification of an existing bag may pass through these stages quickly. A fully original laptop backpack with new patterns, custom hardware, or a complicated opening may need more development work. There is no responsible way to promise a universal number of rounds before the design has been reviewed.
Start With a Usable Design Brief
Sampling works best when the factory understands both what the bag should be and why it is being developed.
A usable brief normally identifies:
Product type and target customer
Main use, such as commuting, office work or business travel
Actual device dimensions or intended laptop range
Overall size and capacity direction
Pocket and compartment requirements
Carrying method
Preferred materials, colors and surface finish
Padding and reinforcement expectations
Hardware and zipper direction
Logo artwork, labels and packaging
Estimated order quantity
Target cost range
Intended sales market
Required launch or delivery window
A Tech Pack gives the factory the clearest working reference, but it is not the only possible starting point. A dimensioned sketch, Adobe Illustrator drawing, well-marked photographs, or a physical reference sample can also support development. The information will still need to be converted into controlled specifications as the project progresses.
The order quantity and target cost should not be treated as last-minute negotiating information. They influence early decisions. A custom-molded zipper pull, specially dyed fabric, multilayer organizer, and molded back panel may all be technically possible, but not necessarily suitable for every volume or price position.
If you are still evaluating suppliers, examine whether they can explain these trade-offs—not simply whether they say they offer OEM or ODM. That distinction is part of choosing the right laptop bag production partner.
Phase 1: Clarify the Product Before Opening the Pattern
Before the sample room starts work, the buyer and manufacturer need one agreed product direction.
A slim laptop briefcase and a travel backpack may fit the same computer, yet require very different solutions. The briefcase may prioritize a clean silhouette and compact organization. The backpack may need load distribution, a stable back panel, more capacity, and quick device access.
This stage should resolve questions such as:
Which device represents the largest intended fit?
Will users carry the laptop in a protective case?
Which items must fit alongside the computer?
Should the laptop compartment open independently?
Does the bag need to stand when loaded?
Which features are essential, and which can change to protect cost or manufacturability?
The output should be a single confirmed brief. When dimensions and instructions remain scattered across emails and chat messages, different teams can easily work from different versions.
Phase 2: Review Feasibility, Materials and Cost Together
The factory can now assess whether the requested shape, functions, materials, and cost position are compatible.
This is where practical conflicts often become visible. For example, a thick protective wall may reduce document capacity; a tight corner radius may prevent a zipper from running smoothly; a lightweight fabric may need backing to support a structured body; or a custom component may require more tooling or volume than the project allows.
A useful feasibility review should identify:
Features that can proceed as designed
Details that need clarification
Construction risks
Components with sourcing or minimum-order constraints
Changes that affect cost or appearance
Areas that require physical testing
Any proposed substitution should be approved on its own merits. Replacing metal hardware with an engineered plastic component, for instance, may change weight, price, finish and brand perception. The decision should not be hidden inside the first sample.
Build a Material Set, Not a Shopping List
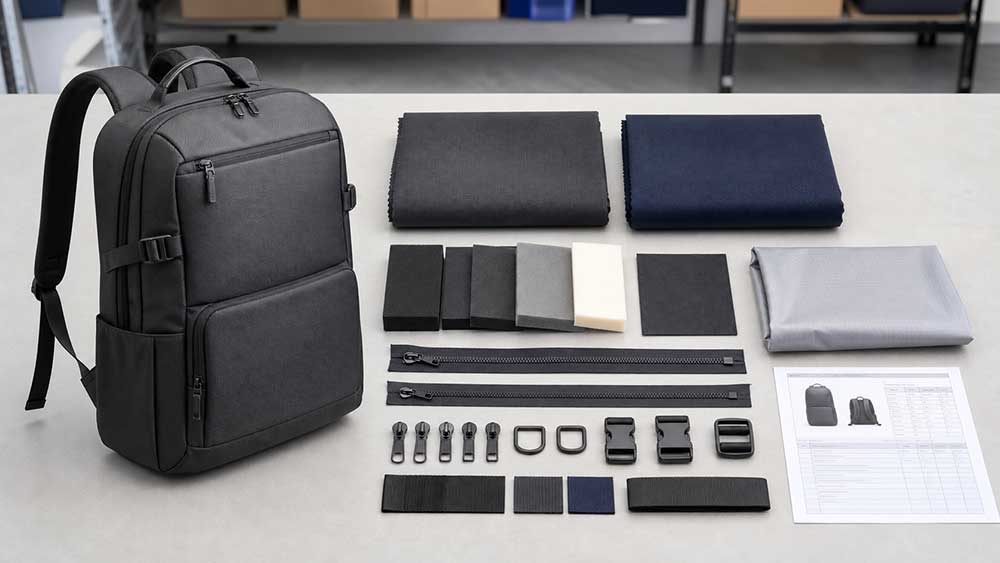
The outer fabric, backing, lining, foam, reinforcement, webbing, thread, binding and zippers behave as one construction. Selecting them separately without considering the assembled thickness can cause unexpected fit or sewing problems.
Color approval also needs a dependable reference. When matching matters, an approved swatch or lab dip is more reliable than a color seen on a monitor.
For the computer compartment, the specification should describe where the cushioning belongs and how the finished space will be evaluated. The right construction depends on the bag’s profile and use; thicker is not automatically better. The relationship between cushioning and usable space is covered more fully in this guide to laptop compartment padding.
Logo methods should be sampled on the intended material, or on a technically comparable surface when the final fabric is not yet available. Embroidery, printing, rubber patches, metal badges and debossing can produce very different results on coated fabric, textured nylon or synthetic leather.
Phase 3: Turn the Design Into a Working Pattern
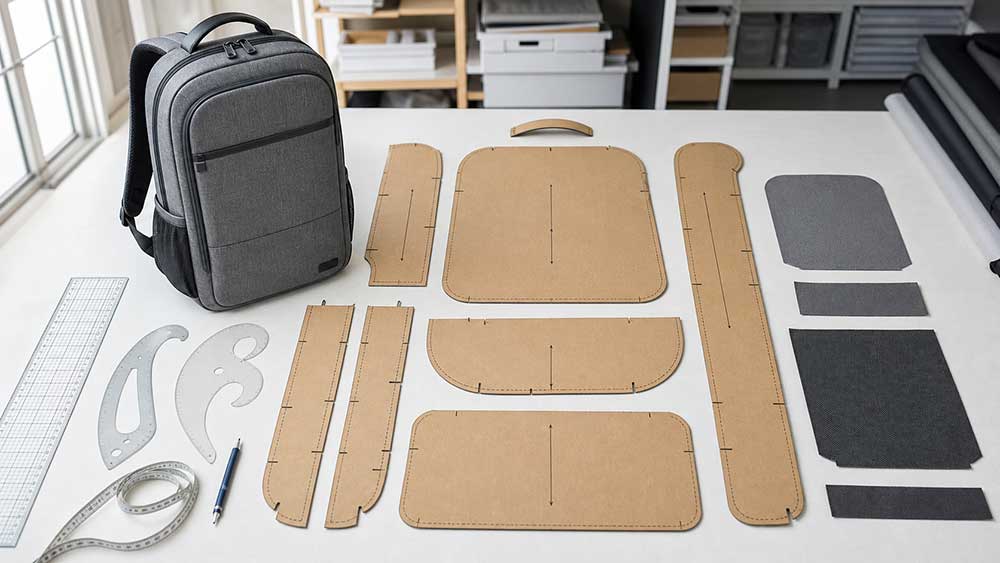
Pattern making is where two-dimensional instructions become parts that can be cut and assembled. The pattern must account for seam allowances, folds, foam, binding, reinforcement, curves, and the order in which the bag will be sewn.
For laptop bags, the pattern maker has to work backward from the required finished interior—not simply start with the exterior panel size.
The pattern should make room for:
The device to pass through the completed opening
Foam and lining without crushing the usable compartment
Enough retention to limit movement without an overly tight fit
Protection at the base and lower corners
Zippers and hard components that do not press against the device
Reinforcement around handles and strap anchors
An assembly sequence that production operators can repeat consistently
Some concerns can be resolved on paper. Others only appear after the bag is built and loaded. That is why the first pattern is a development hypothesis, not a finished production standard.
Phase 4: Build the First Prototype
Once the pattern and provisional material set are ready, the project finally moves from documents to something the buyer can handle.
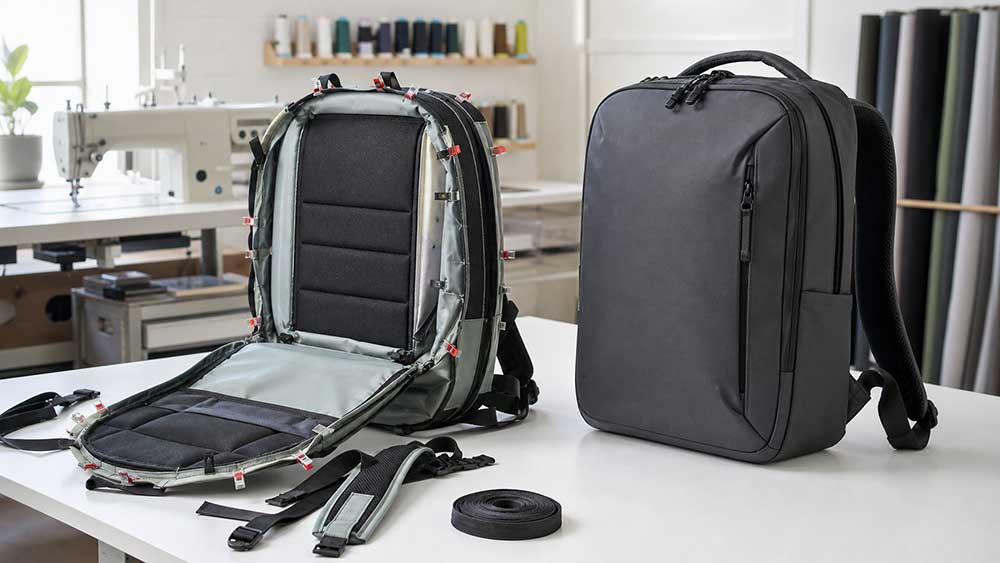
The first prototype is meant to expose issues. It may not have the final color, branded zipper pull, packaging, or production fabric. Substitute components can be acceptable at this stage when they are clearly listed and do not prevent the intended evaluation.
Before shipping the sample, the factory should check it against the current project file. That internal review should catch obvious discrepancies in dimensions, pocket placement, symmetry, strap attachment, zipper operation and construction.
The sample should arrive with a short status record that states:
Sample version and date
Drawing or Tech Pack version used
Materials that match the intended specification
Temporary substitutions
Known points requiring buyer review
Measurements or features that changed during development
This record saves the buyer from treating a temporary component as an unexplained error.
Phase 5: Test the Sample as a Loaded Product
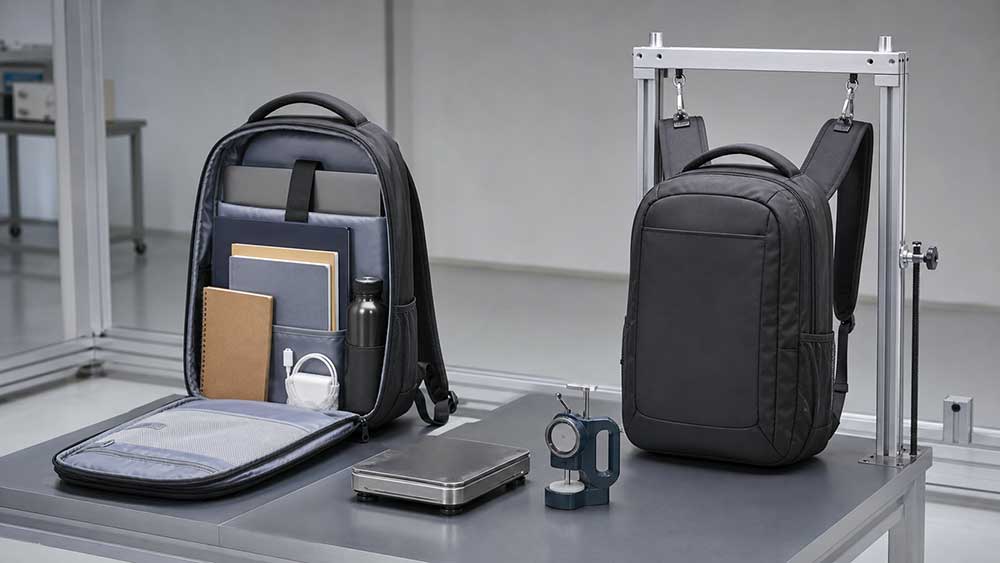
An empty laptop bag can hide most of the problems that matter. Use the intended laptop or an accurate dimensional dummy, then add the items the target customer is likely to carry—such as a charger, documents, tablet, mouse, notebook or travel accessories.
After packing the bag, lift it, carry it, open it, place it on a desk, and access each main compartment.
Check Device Fit, Not Just the Label Size
Terms such as “15.6-inch laptop bag” describe a market category, not a guaranteed fit for every computer with that screen size. Laptop bodies vary in width, depth and thickness.
The reviewer should confirm:
Finished internal length, width and depth
Usable opening size
Fit with the largest intended device
Allowance for a commonly used protective shell, if relevant
Whether the device is stable without being difficult to remove
Whether smaller devices move excessively
Contact with zipper sliders, pulls, rivets or other hard points
Follow the Protection Around the Entire Device
Press and feel around the front, back, base, lower corners and opening. A sample may feel well padded at the center while leaving an edge comparatively exposed.
If the design calls for a suspended compartment, measure or otherwise verify the separation between the compartment base and the outside bottom of the bag. Do not assume that a visible strip of foam creates meaningful clearance.
A prototype can confirm construction, but it cannot justify an unsupported “drop-proof” claim. Any measurable protection claim needs defined equipment, conditions, procedures and acceptance criteria.
Carry It Under a Realistic Load
Load changes how the bag behaves. Watch for handles that dig into the hand, straps that slide, a back panel that collapses, or a body that tips forward when set down.
The test should consider:
Grip comfort and handle position
Shoulder or backpack strap adjustment
Load placement relative to the body
Access to frequently used pockets
Shape retention
Stability when the bag is placed down
Whether full pockets interfere with one another
This is also the moment to decide whether a problem comes from the design, the pattern, the selected material, or the workmanship of that particular sample.
Phase 6: Give Feedback the Sample Room Can Use
A long revision list is manageable. A contradictory one is not.
Collect comments into a single document and tie each point to a photograph, drawing reference, or measurement. Each instruction should state what is wrong and what result is expected.
Unclear comment
Production-ready direction
Make the laptop section larger
Increase the finished internal width to the stated measurement while retaining the approved side cushioning
The shoulder pad feels wrong
Extend the padded section to the marked length and move the joining seam away from the shoulder contact area
Fix the front logo
Use the approved artwork revision, specified width and centerline shown on the marked photograph
Improve the opening
Reverse the opening direction as marked and use the approved slider and pull
The factory should review the complete list before making the next sample. A requested change may alter material consumption, cost, tooling, construction sequence, or another approved feature. Those consequences are easier to address before the sample room begins again.
When the revised sample arrives, recheck the whole product—not only the changed points. A wider computer sleeve may make an adjacent pocket too narrow. A longer zipper opening may require new reinforcement. A thicker back panel may alter strap position or finished capacity.
Once the revision is accepted, the drawings and specification sheet should be updated to match it. A good physical sample paired with an outdated file is not a safe basis for production.
Phase 7: Freeze the Production Version
The project is ready for a pre-production sample only when major design exploration has ended. At this point, the parties should agree on the exact version intended for manufacturing.
The controlled specification should identify:
Finished measurements and permitted tolerances
Approved fabrics, colors, coatings and backing
Foam and reinforcement locations
Lining, binding, thread and webbing
Zippers and hardware
Logo files, methods and placement
Labels and packaging
Construction details
Functional requirements
Agreed tests or compliance documentation
Approved deviations, if any
Avoid instructions such as “same as the previous sample plus our latest messages.” Every approved change should appear in a dated or numbered project file.
This freeze protects both sides. The buyer has a clearer approval target, while the factory has one set of instructions for sourcing, cutting, sewing and inspection.
Phase 8: Make and Approve the Pre-Production Sample
The pre-production sample—often abbreviated as PP sample or PPS—is the final physical confirmation before bulk manufacturing. Its purpose is no longer to explore broad design alternatives. It is to show that the approved specification has been assembled correctly and can serve as a production reference.
The sample should use the approved production materials, trims, hardware, colors, branding and construction. If a production component is genuinely unavailable, the difference should be listed in writing, along with the method and timing for its separate approval.
What to Confirm Before Signing Off
Review area
What the buyer should verify
Version control
Style, colorway, sample date and specification version all match
Device fit
Intended laptop enters, sits and can be removed without harmful contact
Dimensions
Finished bag and key compartments remain within agreed tolerances
Materials
Fabric, lining, foam, webbing, binding and components match approvals
Construction
Seams, reinforcement, binding, panel alignment and shape are acceptable
Carry system
Handles, straps, adjusters and anchor points work under the intended load
Hardware
Zippers, sliders, pulls, buckles and fasteners are correct and functional
Branding
Logo, labels, artwork version, position, color and finish are approved
Function
Pockets remain accessible and the packed bag carries as intended
Packaging
Folding, protection, labels, barcodes and pack-out follow the order file
If laboratory testing forms part of the project, the method and acceptance level should come from the buyer’s requirements or an agreed testing plan. Relevant zipper properties may be evaluated using applicable methods in ASTM D2061-07(2021), but ASTM notes that no single test determines whether a zipper is suitable for every end use.
Seam testing also needs product-specific judgment. ISO 13935-2:2026 covers maximum force to rupture for certain straight seams, primarily in applicable woven fabrics. It is not suitable for every coated material, curved seam or laptop bag construction, so the buyer and laboratory must confirm whether it applies before specifying it.
Record the Approval Clearly
The final decision should be traceable:
Approved: Bulk production may proceed against the agreed sample and files.
Conditionally approved: Only the written minor corrections may be completed without another full sample.
Not approved: Production remains on hold until the listed issues are corrected and reviewed.
Where practical, both parties should retain matching or traceable reference samples. The physical sample works together with the Tech Pack, bill of materials, measurement tolerances and workmanship requirements; it does not replace them.
From PP Sample to Bulk Production
After approval, attention shifts from development to consistency. Materials are controlled against the approved references, work instructions are finalized, and production and quality teams use the PP sample alongside the written specification.
Inspection should then determine whether bulk units stay within the agreed standard—not reopen design questions that should have been settled during sampling. The separate laptop bag quality inspection checklist covers incoming materials, in-process controls, final units and shipment decisions in greater detail.
Why Sampling Schedules Slip
Sewing time is only one part of sample development. Progress may slow when:
Device dimensions are still unclear
Drawings contain conflicting measurements
Feedback arrives through several channels
Materials or custom parts require development
Logo artwork is not production-ready
Major features change after the prototype
Cost expectations change during development
Revised drawings are not issued
The final production component has not been approved
The best way to shorten development is not to skip review. It is to make decisions promptly, combine feedback, maintain one current specification, and distinguish must-have requirements from optional preferences.
Final Thoughts
A useful laptop bag sample does more than resemble a design rendering. It proves that the intended device fits, the bag works when loaded, the selected materials support the structure, and the agreed details can become a clear manufacturing standard.
That takes disciplined decisions from both sides. The buyer defines the product, evaluates the samples and controls approvals. The manufacturer translates those requirements into materials, patterns, construction and repeatable instructions.
For brands developing OEM or ODM projects, Vancharli Outdoor supports custom laptop bag development from design review and pattern making through prototype revisions and pre-production confirmation. The goal of sampling is not to avoid all revisions; it is to resolve the right problems before they reach bulk production.
FAQ
Is a Tech Pack required before requesting a laptop bag prototype?
Not always. A manufacturer may begin with a detailed brief, marked drawing, Adobe Illustrator file, reference photographs or a physical sample. However, the agreed information should be converted into updated specifications before the project reaches production approval.
Can a prototype use a different fabric from the bulk order?
Yes, when the prototype is intended mainly to evaluate dimensions or structure and the substitution is disclosed. The reviewer should consider whether the substitute changes stiffness, thickness, appearance or fit. The PP sample should normally use the approved production material.
How many revisions are normal for a custom laptop bag?
There is no universal number. The amount of revision depends on how complete the initial specification is, how original the design is, whether components need tooling, and what the first prototype reveals. Production should begin when the requirements are resolved, not after an arbitrary number of rounds.
Should the sample be tested with the exact laptop model?
Use the actual target device when possible. Otherwise, use a dimensional dummy that accurately represents its width, depth and thickness. If the bag is intended for several models, test the largest target and check how smaller devices are retained.
Is a PP sample the same as a gold sample?
Some businesses use the terms interchangeably, while others do not. Define the status in writing. What matters is whether the sample represents the final approved production specification and whether both sides recognize it as a reference.
Can a brand change the design after approving the PP sample?
It can request a change, but the consequences must be reviewed first. The change may affect patterns, purchased materials, tooling, cost and delivery. A substantial change usually calls for updated specifications and renewed sample approval.
Does a signed PP sample replace the written specifications?
No. The sample shows the physical result, while the Tech Pack, bill of materials, measurement table, tolerances and workmanship criteria describe what production must control. They should be used together.
Will every bulk laptop bag be identical to the PP sample?
Soft sewn products have normal production variation. The approved sample establishes the target, while written tolerances and inspection criteria define what variation is acceptable.








Comments are closed