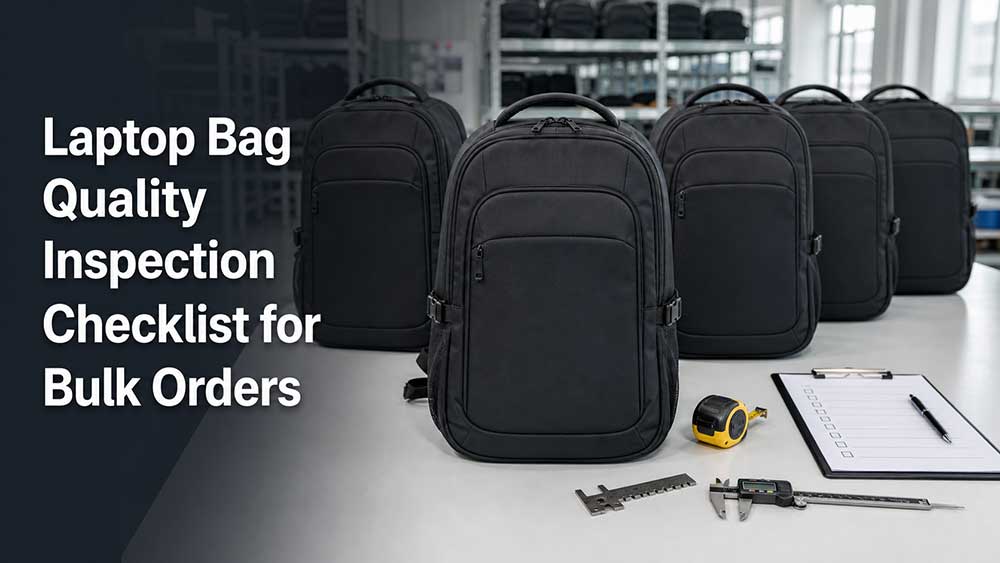
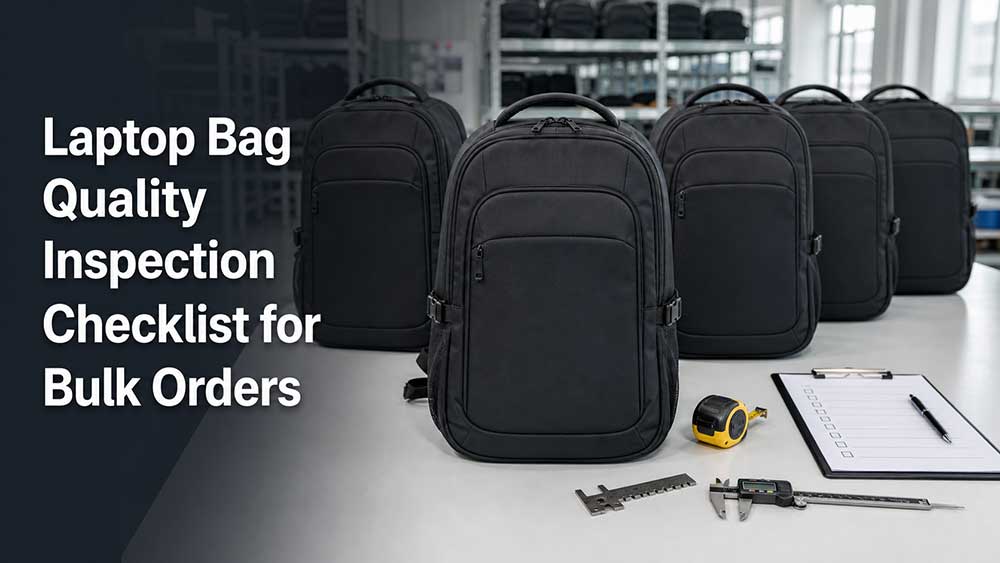
Laptop Bag Quality Inspection Checklist for Bulk Orders
A laptop bag quality inspection should confirm five things: the bulk order matches the approved sample, the laptop compartment fits the intended device, the padding and load-bearing structure work as specified, all hardware and branding are correct, and the shipment is packed according to the purchase order.
A bag can look perfectly acceptable on an inspection table and still fail in use. The laptop compartment may become too narrow after the foam and lining are installed. The front and back panels may feel well padded while the lower corners remain exposed. A shoulder strap may also look secure until the finished bag is loaded.
That is why a laptop bag needs a product-specific inspection checklist rather than a generic check for fabric, stitching, and zippers.
This guide is designed for brands, importers, wholesalers, procurement teams, product developers, factory quality teams, and third-party inspectors reviewing laptop bag bulk orders.
Defect classification, AQL result, rework, approval or rejection
The rest of this guide explains how to inspect each area and how to turn the findings into a clear shipment decision.
What Should a Laptop Bag Inspection Prove?
A completed inspection should answer five practical questions:
Does the shipment match the approved sample and written specifications?
Does the laptop compartment fit the intended devices?
Does the construction provide the agreed level of laptop protection?
Do the straps, handles, zippers, pockets, and hardware function correctly?
Are the quantities, branding, assortment, labeling, and packaging correct?
An inspection is not simply a search for visible defects. It is a documented comparison between the finished shipment and a standard agreed by the buyer and supplier.
Without that agreed reference, one inspector may accept a problem that another considers unacceptable.
Prepare the Inspection Standard Before Production Is Finished
Quality decisions quickly become subjective when the buyer, factory, and inspector are working from different samples or document versions.
Before inspection, prepare:
Approved pre-production sample or sealed reference sample
Latest tech pack or specification sheet
Bill of materials
Measurement chart and tolerances
Approved fabric, lining, foam, and webbing references
Color standard or approved lab dip
Logo artwork and placement dimensions
Packaging instructions
Purchase order and assortment breakdown
Product testing requirements
Defect classification guide
Agreed AQL sampling plan
Records of approved design or material changes
Make sure the revision number or approval date is clear. An outdated tech pack can create unnecessary disputes even when the factory has followed the latest approved change.
The reference sample should support the written specifications, not replace them. Requirements such as foam density, material composition, coating performance, reinforcement layers, or internal seam allowance may not be visible in a finished bag.
Choose the Right Inspection Stage
A final random inspection is common before shipment, but it cannot prevent every production problem.
A new design usually needs more in-process checking than a stable repeat order, especially when the project uses new materials, a new padding structure, or a new supplier.
Incoming Material Inspection
This stage confirms that the fabric, lining, foam, webbing, thread, zippers, buckles, and other components match the approved bill of materials before they enter production.
It is particularly useful when:
The outer fabric has a special coating or lamination
A custom color has been developed
The bag uses specified branded zippers or hardware
Foam thickness or density is important
Several visually similar materials are being used
In-Process Inspection
Production-line inspections can identify problems while they are still relatively easy to correct.
Useful checkpoints include:
Cutting dimensions
Foam placement
Laptop compartment construction
Pocket position
Handle and strap reinforcement
Stitching quality
Logo placement
Assembly sequence
Incorrect padding placement is much harder to repair after the lining and outer panels have been fully assembled.
Final Random Inspection
A final random inspection evaluates finished and packed products from across the shipment.
It is normally used to support the final decision to:
Approve the shipment
Require rework
Arrange re-inspection
Place the shipment on hold
Reject the shipment
The inspection stage should reflect the product risk and order history rather than follow the same process for every project.
1. Verify Order Quantity and Assortment
Begin with the purchase order, not the individual bag.
Confirm:
Total finished quantity
Quantity available for inspection
Percentage already packed
Model or SKU breakdown
Color assortment
Size assortment, if applicable
Destination or customer allocation
Inner-pack quantity
Units per carton
Included accessories
Replacement units or spare components
Samples should come from different cartons and different parts of the shipment. Inspecting only cartons that have already been opened—or products placed near the top—may produce an unrepresentative result.
Quantity shortages, overages, and assortment errors should be recorded separately from workmanship defects. A bag may be well made and still fail the commercial requirements of the order if the wrong colors or quantities are packed.
2. Compare Bulk Production With the Approved Sample
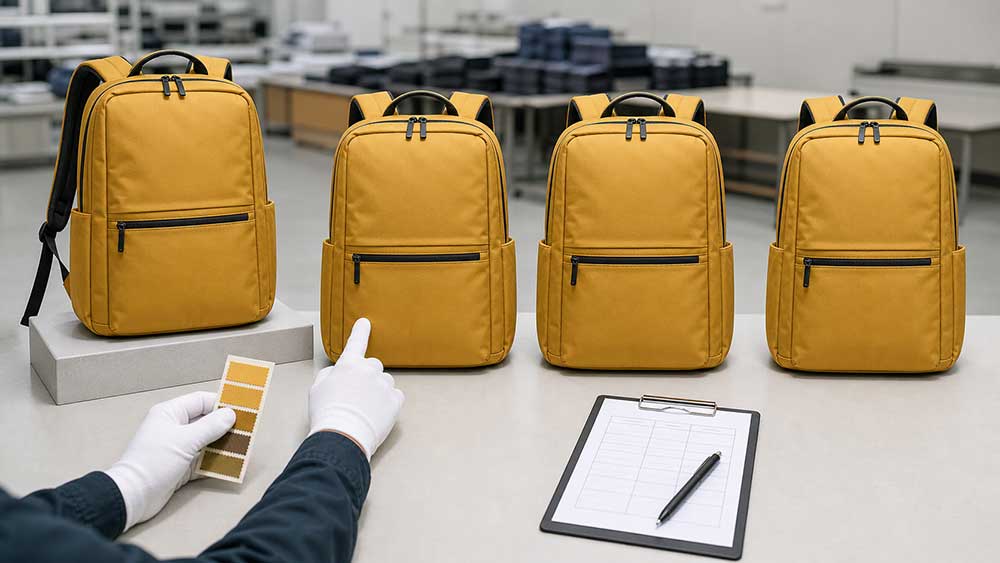
Place the approved reference sample beside several randomly selected production units.
Compare:
Overall silhouette and proportions
Fabric texture and stiffness
Color and shade
Overall weight and hand feel
Panel shape
Pocket position
Opening shape
Handle and strap construction
Logo size and location
Hardware color and finish
Lining color
Internal organization
Packaging presentation
Soft bags will not all fold in exactly the same way. Inspectors should focus on differences that affect material, structure, dimensions, appearance, or function.
For example, a bulk bag may look similar to the approved sample but feel noticeably thinner. That can indicate a change in outer fabric, lining, foam, reinforcement, or component weight and should be investigated rather than dismissed as normal variation.
3. Inspect Fabric, Lining, Foam, and Components
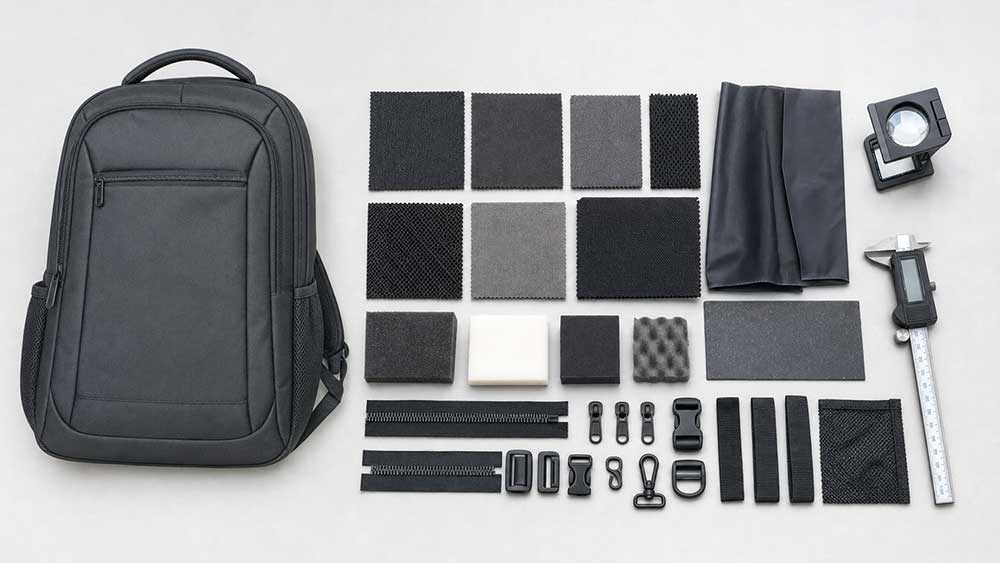
Materials should be checked against the approved bill of materials and physical references.
Outer Fabric
Confirm the material type, construction, color, coating, lamination, and surface finish.
Look for:
Holes, cuts, or pulled yarns
Weaving or knitting defects
Stains, oil marks, or glue residue
Shade differences between panels
Permanent creasing
Printing defects
Peeling or cracking
Coating inconsistency
Delamination
Unusual stiffness or softness
A water-resistant fabric should not automatically be described as waterproof. Finished-bag performance also depends on the zippers, seams, needle holes, openings, and overall construction.
Lining
Check that the lining is:
The correct material and color
Installed in the right direction
Clean and free from holes
Secure around pocket openings
Free from excessive twisting or looseness
Properly attached around the laptop compartment
Clear of exposed raw edges
A loose lining may appear cosmetic, but it can catch on a laptop corner, zipper slider, charger, or other item during everyday use.
Foam and Reinforcement
Check:
Foam type
Thickness at specified measuring points
Density and recovery
Coverage around the laptop compartment
Position inside each panel
Gaps, folds, or bunching
Yellowing or physical breakdown
Reinforcement beneath handles and straps
Structural boards or sheets, where specified
Thickness alone does not determine protection. Foam type, density, coverage, compression resistance, fit, and attachment method all influence how the laptop compartment performs.
Use the measurement points and methods in the approved specification sheet.
Typical measurements include:
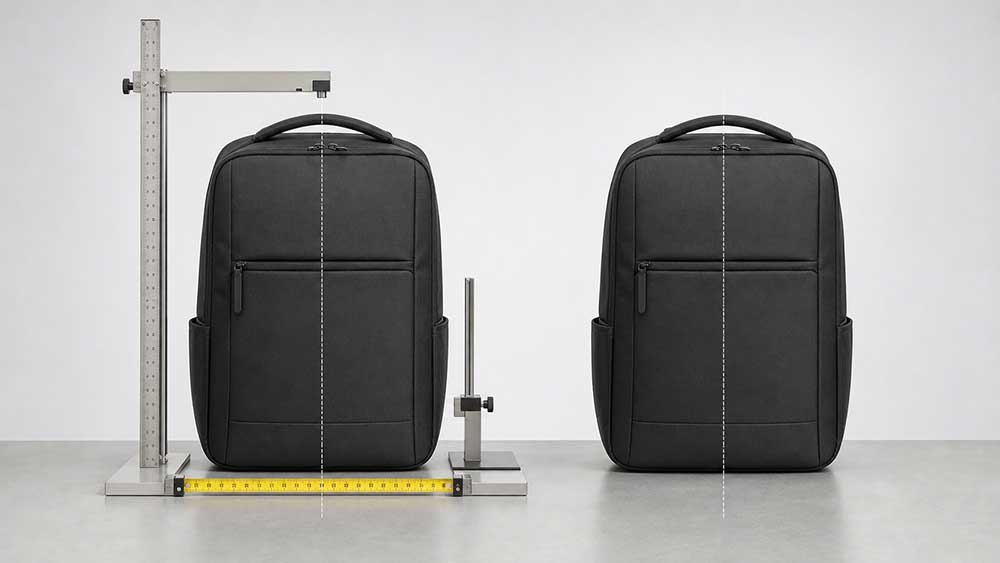
Overall width
Overall height
Overall depth
Main opening width
Pocket dimensions and positions
Handle drop
Shoulder strap length
Backpack strap length
Trolley sleeve width
Laptop compartment width, height, and depth
Soft bags can produce different measurements depending on whether they are measured flat, standing, filled, or lightly tensioned. The measurement method therefore needs to remain consistent with the method used during sample approval.
Also check:
Left-to-right symmetry
Pocket alignment
Panel alignment
Base shape
Piping or binding shape
Whether the bag stands or folds as designed
Whether the body twists when empty
Whether seams distort when the bag is loaded
The seriousness of a measurement problem depends on its effect.
A small difference in an external decorative panel may have limited impact. A similar difference at the laptop opening may prevent the intended computer from fitting.
5. Check the Laptop Compartment and Device Fit
This is where a laptop bag inspection becomes different from a general backpack or business bag inspection.
Do not approve the compartment based only on a screen-size label such as 13-inch, 14-inch, or 15.6-inch. Laptops with the same advertised screen size can have different body dimensions, thicknesses, hinges, and corner profiles.
Check:
Usable internal width
Usable internal height
Internal depth
Compartment opening width
Space lost to padding
Divider position
Enough clearance to close the compartment without pressing against the laptop
Space around the target device
Movement when the bag is carried
Fit after other compartments are loaded
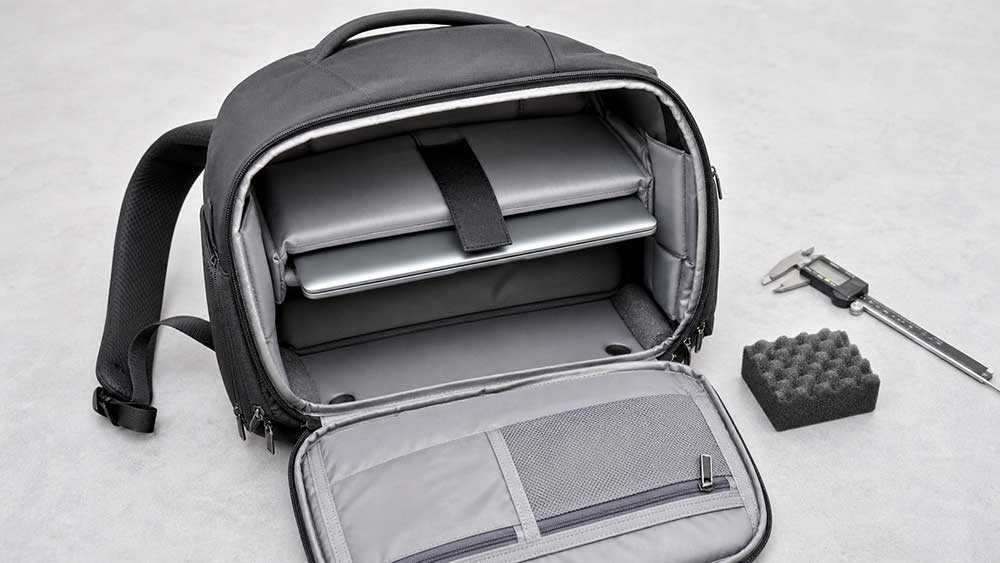
The usable compartment dimensions should be measured after the foam and lining are installed. Outer panel dimensions do not show how much functional space remains inside.
For the fit test, use:
The actual target laptop
A rigid device model
A dimensionally accurate test board
A buyer-approved size template
Insert and remove the device several times.
The device should:
Enter without excessive force
Sit inside the intended padded zone
Remain reasonably stable while carried
Avoid direct contact with hard components
Be removable without catching on the lining or zipper
Allow the compartment to close normally
The difference between screen size and actual device dimensions is covered in more detail in this guide to measuring a laptop for a bag.
6. Inspect Padding, Bottom Clearance, and Corner Protection
Fit alone is not enough. The device also needs to remain inside the protected area when the bag is lifted, set down, or fully packed.
Bottom Protection
Confirm that the specified foam or reinforcement extends underneath the laptop.
Check whether the device can contact:
The external bottom seam
A hard bottom board
Metal feet
Rivets
Thick internal seams
Uncovered structural components
Suspended Laptop Compartment
If the design includes a suspended compartment, measure the distance between the bottom of the compartment and the external bottom of the bag.
Confirm that:
The suspension height matches the specification
The compartment does not collapse under normal device weight
The laptop cannot slide below the protected zone
The suspended panel is attached securely
The distance is reasonably consistent across sampled units
A suspended bottom provides limited value if the panel stretches or collapses as soon as a laptop is inserted.
Lower Corner Protection
Check whether both lower corners remain within the padded area.
A compartment can have thick front and back padding while leaving a gap where the lower side panels meet the base. Because corners often receive impact when a bag is set down, these gaps matter.
Side and Front Coverage
Confirm that the foam does not stop too far below the top of the target device or leave large sections of the sides exposed.
Internal Hard Points
Run your hand around the empty compartment, then inspect it again with the test device inserted.
Look for:
Exposed rivet backs
Zipper stops
Screw heads
Metal logo attachments
Hard seam buildups
Sharp binding ends
Buckle or hook attachments
Uncovered structural boards
No hard component should press directly against the laptop during normal use.
Laptop Retention
If the compartment includes a strap, flap, elastic edge, or hook-and-loop closure, confirm that it holds the device without scratching it or placing unnecessary pressure on the screen area.
A reliable laptop compartment combines fit, coverage, bottom protection, corner protection, and structural stability. These factors are also discussed in what makes a good laptop bag.
7. Inspect Stitching, Reinforcement, Handles, and Straps
Stitching quality should be judged by both appearance and function.
Inspect visible and internal seams for:
Skipped stitches
Broken stitches
Loose thread tension
Excessively tight stitching
Uneven stitch length
Open seams
Weak backstitching
Crooked sewing
Raw edges
Incomplete binding
Puckering
Needle holes outside the intended seam
Untrimmed threads
Incorrect thread color
Pay particular attention to high-load areas:
Handle bases
Shoulder strap attachments
Backpack strap roots
D-rings
Trolley sleeves
Side gussets
Bottom corners
Zipper ends
Detachable strap hooks
Laptop compartment attachment points
Confirm that the specified bartacks, box stitches, cross stitches, reinforcement patches, or internal backing materials are present.
Do not approve a reinforcement simply because it looks strong. It should match the approved construction.
Handle and Strap Function
Check:
Correct width and length
Symmetrical placement
Webbing direction
Reinforcement beneath attachment points
Smooth adjustment
Buckle and slider stability
No webbing fraying
No twisted straps
Correct padding position
No unexpected slippage
For a basic on-site load check, load the bag according to the approved test requirement and lift it through each intended carry point.
Watch for:
Seam opening
Stitch breakage
Strap slippage
Hardware deformation
Cracking sounds
Handle movement
Permanent distortion
Controlled pull strength, repeated fatigue cycles, and formal performance reports normally require appropriate test equipment. A simple inspection-room test should not be presented as a substitute for required laboratory testing.
8. Check Zippers, Buckles, and Hardware
Open and close every zipper on the inspected units.
Check:
Smooth movement
Correct opening direction
Slider alignment
Secure top and bottom stops
No teeth separation
No fabric catching
No excessive zipper-tape waviness
Correct puller
Secure puller attachment
Correct zipper and tape color
Consistency between units
Inspect buckles, adjusters, hooks, snaps, magnets, D-rings, and metal trims for:
Correct model and size
Correct orientation
Secure installation
Smooth operation
Holding ability
Cracks or deformation
Sharp edges
Rust or oxidation
Plating bubbles
Peeling finish
Color inconsistency
Hardware affects access, carrying comfort, appearance, and long-term durability. Buyers developing business or laptop bags can find additional component approval points in this business bag hardware guide.
9. Test Pockets and Product Functions
Every pocket and feature shown in the approved specification should be present, correctly positioned, and usable.
Depending on the design, test:
Main compartment access
Laptop compartment closure
Tablet pocket
Document sleeve
Charger pocket
Pen loops
Key clip
Bottle pocket
Hidden pocket
Anti-theft pocket
Trolley sleeve
Detachable shoulder strap
Expandable section
Compression straps
Cable openings
USB port and internal cable
A pocket should not merely exist. It should have the approved opening size, access direction, and usable capacity.
For a bag with an external USB port:
Check that the port is installed securely
Confirm the internal cable is present
Test the physical connection
Check that the cable does not interfere with other compartments
Do not describe the bag as self-charging. A built-in USB port normally provides a convenient connection to the user’s own power bank, unless the product specification clearly includes another charging system.
10. Verify Water-Resistance Claims Carefully
Most business and laptop bags are designed to resist light rain or splashes. They are not automatically fully waterproof.
Inspect:
Approved outer fabric
Water-repellent surface treatment
Coating or lamination condition
Zipper construction
Flaps over openings
Seam positions
Needle holes
Bottom-panel construction
Entry points around pockets and trims
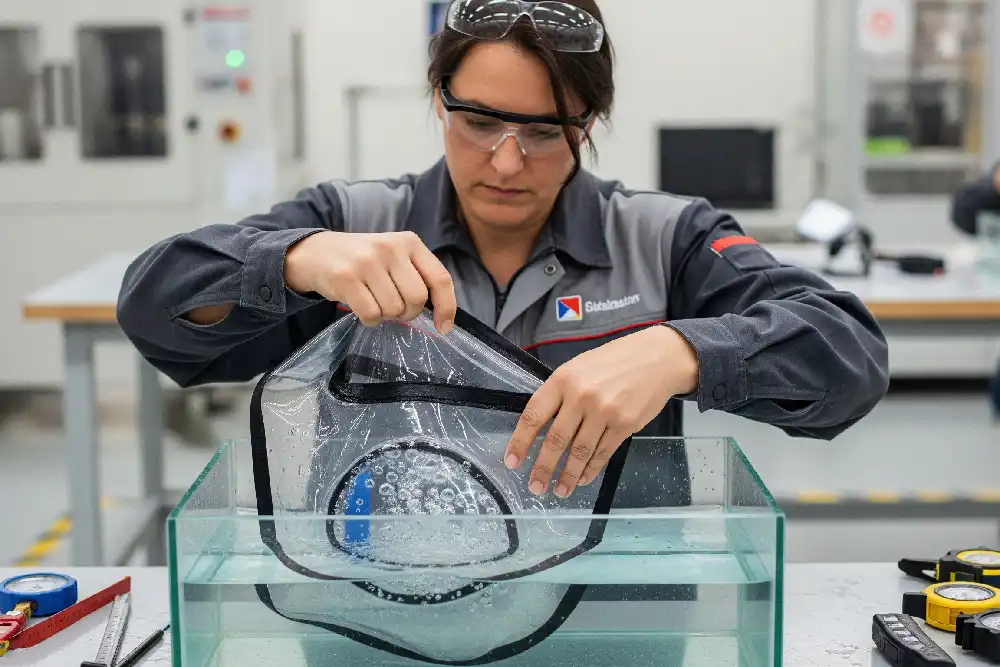
A spray check can identify poor surface repellency or obvious leakage, but the method and acceptance criteria should be agreed before production.
The official AATCC TM22-2024 spray test evaluates the resistance of textile fabric to surface wetting. It does not, by itself, prove that a complete sewn laptop bag is waterproof.
Do not approve a “waterproof laptop bag” claim only because the outer fabric repels water. The difference between fabric performance and finished-bag construction is explained in this guide to water-resistant laptop bags.
11. Check Logos, Labels, and Branding
Compare all branding with the approved artwork and reference sample.
Inspect:
Logo type
Logo dimensions
Position from defined reference points
Horizontal and vertical alignment
Color
Embroidery density
Print coverage
Heat-transfer adhesion
Patch edges
Metal logo finish
Woven-label orientation
Main label information
Care label
Country-of-origin marking, where required
Hangtag
Barcode
SKU sticker
Packaging artwork
A logo may be physically secure and still be unacceptable if it is crooked, incorrectly colored, badly positioned, or inconsistent across the order.
Barcode inspection should confirm both scanability and data accuracy. A barcode that scans correctly but identifies the wrong SKU is still a serious commercial problem.
12. Inspect Appearance, Cleanliness, and Odor
Review each sampled bag from a normal viewing distance and again at close range.
Look for:
Dirt
Oil marks
Chalk marks
Glue residue
Loose threads
Fabric damage
Scratches
Dents
Poor shape
Uneven filling
Permanent wrinkles
Shade variation
Crooked panels
Visible needle holes
Strong or unusual odor
Mold or moisture
Foreign objects inside pockets
Use suitable and consistent lighting, especially when comparing color.
The seriousness of an appearance defect depends on its location, visibility, product positioning, and approved quality standard.
A small mark inside a hidden pocket may be minor. The same mark on a front metal logo or a light-colored exterior panel may make a premium business bag difficult to sell.
13. Verify Packaging and Carton Details
Packaging problems can delay warehouse receiving or retail fulfillment even when the bags themselves are acceptable.
Check:
Folding method
Shape-support material
Protective wrapping
Dust bag, if specified
Polybag size and required warnings
Moisture protection
Included accessories
Hangtag position
Barcode placement
SKU and color identification
Inner-pack quantity
Units per carton
Carton dimensions
Carton weight
Shipping marks
Destination marks
Carton number sequence
Carton condition
Sealing method
Confirm that the packaging does not:
Permanently compress the foam
Distort the body of the bag
Bend structured panels
Damage logos
Allow metal hardware to scratch adjacent products
Functional Tests for Laptop Bag Bulk Orders
The final test plan should reflect the product specification, intended use, and sales claims.
Test
What It Checks
Practical Method
Device fit test
Usable laptop compartment size
Insert and remove the approved device or model
Compartment closure
Clearance around the device
Close the loaded compartment without excessive pressure
Laptop retention
Movement inside the compartment
Carry and reposition the loaded bag
Zipper operation
Smoothness and alignment
Operate all zippers according to the agreed test
Strap adjustment
Adjuster holding ability
Set the strap length, load the bag, and check slippage
Handle and strap load
Reinforcement and seam stability
Apply the agreed load through each carry point
Pocket function
Capacity and access
Insert the intended accessories
Barcode scan
Readability and correct data
Scan selected retail labels
Water spray check
Surface repellency or obvious leakage
Use the buyer-approved method
USB connection
Cable installation and connection
Connect a suitable power bank and device
Packaging review
Protection during storage and shipping
Inspect packed units and carton arrangement
An on-site inspection is not a substitute for laboratory testing when formal strength, chemical, colorfastness, or water-performance verification is required.
How AQL Sampling Applies to Laptop Bag Orders
AQL sampling helps buyers determine how many finished bags to inspect and whether the number of observed defects remains within the agreed acceptance limit.
Some small or high-risk orders may require 100% inspection. Larger bulk orders are often evaluated through acceptance sampling.
ISO 2859-1:2026 provides sampling schemes indexed by acceptance quality limit for lot-by-lot inspection by attributes.
An AQL inspection normally requires the buyer to define:
Lot size
Inspection level
Sample size
Critical-defect limit
Major-defect limit
Minor-defect limit
Acceptance number
Rejection number
AQL is an acceptance-sampling parameter. It does not mean that the buyer is deliberately approving a known percentage of defective products, and it does not prove that the entire shipment contains the same defect percentage as the inspected sample.
Samples must be selected randomly and distributed across different cartons and areas of the shipment.
The appropriate AQL criteria depend on:
Safety risk
Product complexity
Brand positioning
Sales channel
Customer expectations
Previous supplier performance
Warranty exposure
Applicable market requirements
There is no single AQL combination that is correct for every laptop bag order.
Critical, Major, and Minor Laptop Bag Defects
Critical defects involve safety or serious compliance risk. Major defects affect function, specification, or saleability. Minor defects generally affect workmanship or appearance without preventing normal use.
The following examples are illustrative. Final classifications should be agreed before inspection.
Product cannot perform as intended or is difficult to sell
Laptop does not fit, wrong material, failed main zipper, detached handle, missing padding, open load-bearing seam, incorrect logo
Minor
Limited effect on use or saleability
Small loose thread, slight hidden stitching irregularity, minor internal cosmetic mark
The same type of defect can have a different classification depending on its location and consequence.
For example:
A loose thread inside a hidden pocket may be minor.
A loose thread that allows a load-bearing seam to open may be major.
A sharp broken component inside the laptop compartment may be critical.
Buyers should define common laptop bag manufacturing defects before production so that inspectors, factories, and product teams classify the same problems consistently.
A defect catalogue should include photographs whenever possible. Images reduce disagreements about descriptions such as “slightly crooked,” “visible scratch,” or “unacceptable color difference.”
When Should a Shipment Pass, Be Reworked, or Be Rejected?
Once the physical checks are complete, the inspector needs a consistent way to record the result.
Pass
A shipment may pass when:
Defect counts remain within the agreed limits
No critical defects are found
Functional tests meet approved requirements
Quantity and assortment are correct
No unresolved specification or compliance issue remains
Written Deviation Approval
A buyer may give written deviation approval when an issue is fully understood and considered commercially acceptable.
The approval should identify:
The exact deviation
Affected quantity
Commercial adjustment, if applicable
Whether approval applies only to the current shipment
Corrective action required for future orders
No response from the buyer should not be treated as automatic approval.
Rework and Re-Inspection
Rework may be suitable for correctable problems such as:
Loose threads
Dirt or glue marks
Incorrect hangtags
Replaceable zipper pullers
Packaging mistakes
Correctable labeling errors
After rework, the affected products should be checked again. A failed shipment should not automatically pass simply because the factory reports that the problem has been corrected.
Shipment Hold or Rejection
A shipment may need to be held or rejected when there is a serious unresolved issue, such as:
Wrong fabric or component
Laptop compartment does not fit the target device
Missing or incorrectly positioned padding
Repeated load-bearing seam failure
Main zipper malfunction
Incorrect branding across a significant quantity
Failed required safety or compliance testing
Defect counts exceed the rejection limit
Inspection samples are not representative
Production records cannot be verified
Commercial urgency should not change the recorded inspection result. The buyer may make a separate commercial decision, but the quality report should remain accurate.
Printable Laptop Bag Inspection Checklist
Inspection Area
Checklist
Documents
☐ Approved sample ☐ Tech pack ☐ BOM ☐ Measurements ☐ Color standard ☐ Packaging specification
Quantity
☐ Total quantity ☐ SKU breakdown ☐ Color assortment ☐ Units per carton
A reliable laptop bag inspection checklist should reflect how the product will actually be used.
Fabric, stitching, and zipper checks are necessary, but they do not prove that the bag fits or protects the intended computer. Inspectors also need to verify usable compartment dimensions, padding coverage, lower-corner protection, internal hard points, load-bearing attachments, functional hardware, branding, and packaging.
For OEM and ODM projects, these requirements should be discussed before sample approval rather than introduced after bulk production is complete.
Brands evaluating potential suppliers can also review the development, sampling, production, and quality-control factors in this guide to choosing a laptop bag manufacturer.
Vancharli Outdoor supports custom laptop bag manufacturing for brands, wholesalers, importers, and private-label projects. Quality requirements can be aligned with the buyer’s approved sample, technical specifications, defect criteria, packaging instructions, and third-party inspection process.
FAQ
How many laptop bags should be inspected in a bulk order?
The sample size depends on the lot size, inspection level, and agreed acceptance-sampling plan. Buyers may also require 100% inspection for high-risk features, corrected defects, or particularly sensitive orders.
Is a final inspection enough for a laptop bag order?
Not always. A final inspection can identify finished-product defects, but material substitutions, incorrect foam placement, and structural errors are easier to prevent or correct during material and in-process inspections.
How should an inspector confirm that a laptop fits?
Use the approved physical device, a rigid model, or a dimensionally accurate test board. Check insertion, removal, closure, movement, and available space after the other compartments are loaded.
Is an incorrectly sized laptop compartment a major defect?
It is normally a major defect when the bag is sold for a defined laptop size but the intended device cannot be inserted, removed, secured, or carried as designed. The final classification should follow the buyer-approved defect list.
Can an inspector confirm that a laptop bag is waterproof?
Only when the finished product has a defined waterproof test requirement and passes that test. A water-repellent fabric or simple surface spray check cannot prove that a complete sewn laptop bag is waterproof.
Who makes the final shipment decision?
The inspector records the findings and applies the agreed inspection criteria. The authorized buyer or quality representative normally makes the final commercial decision, especially when a deviation or conditional approval is involved.










Comments are closed