How to Make Your Own Waterproof Bag Designs with Heat Printing

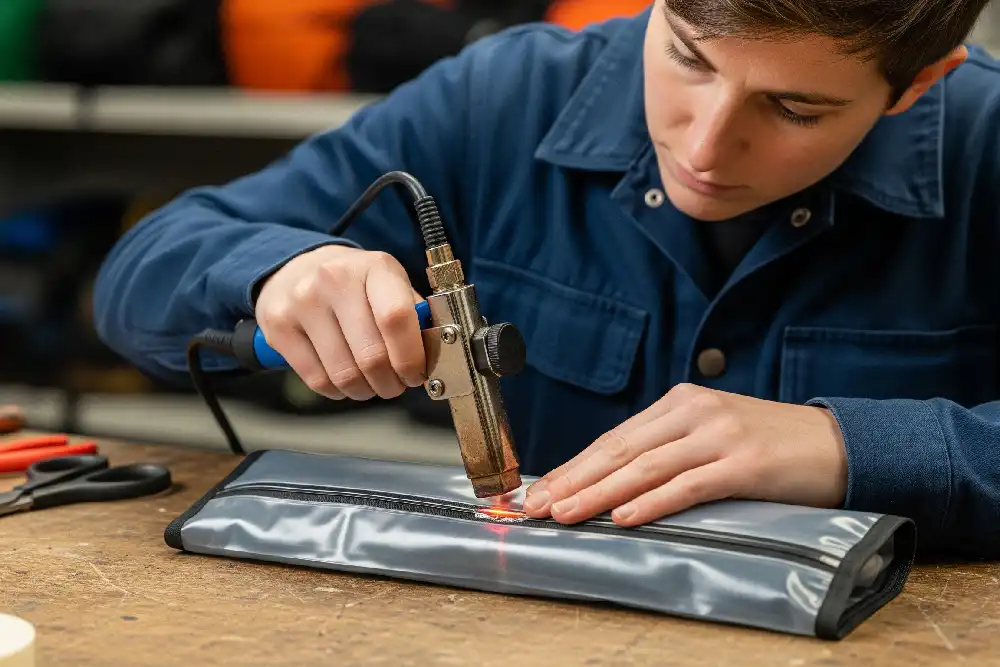
Yes, you can heat print on a waterproof bag! Imagine showing off your favorite colors or logo every time you carry your gear. You get to create a look that matches your style or brand. With the right tools, you can start this project even if you’ve never tried heat printing before.
Tip: Take your time and let your creativity shine. You’ll love the results!
Key Takeaways
- Pick a waterproof bag made of nylon, polyester, or vinyl. These materials work best for heat printing. Always warm up the bag first. Test the waterproof coating before you add your design. This helps make sure the design goes on smoothly. Put a non-stick sheet or parchment paper between the heat and the bag. This keeps the waterproof coating safe. Press down evenly and use the right temperature for 10-15 seconds. This helps your design stick well. If your design peels off, press it again with parchment paper. This will fix the problem fast.
Waterproof Bag: Preparation
Choose the Right Bag
Picking the right waterproof bag is the first step to a great heat printing project. You want a bag that can handle the heat and keep your design looking sharp. Most people use bags made from these materials:
- Nylon
- Polyester
- Vinyl
These materials work well because they can take the heat from a press or iron. When you shop for a waterproof bag, check the label for the material. Some bags use TPU for flexibility and strength. Others use PVC, which is super waterproof but not as bendy. Coated nylon is also popular because it gets water-resistant after treatment. Thicker bags last longer and resist scratches or tears.
Tip: Look at the seams and zippers. Bags with strong seams and waterproof zippers keep your stuff dry and make heat printing easier.
Test the Surface
Before you start heat printing, make sure the bag’s waterproof coating is still good. You can do a simple water droplet test. Just drip a little water on the bag’s surface. If the water beads up and rolls off, the coating is working. If it soaks in, the coating might be worn out.
- Pre-treating the bag helps keep the waterproof layer safe.
- Use gentle heat to avoid damaging heavy coatings.
- Try pre-heating the bag for a few seconds before printing.
If you want your design to last, always check the bag’s surface first. This step helps you avoid problems later and keeps your waterproof bag looking great.
Materials & Tools
Before you start heat printing, you need to gather the right materials and tools. Having everything ready makes the process smoother and helps you get the best results.
Heat Press or Iron
You can use either a heat press or a regular iron for this project. Each tool has its own pros and cons. A heat press gives you steady pressure and even heat, which helps your design stick better and last longer. An iron works if you’re just starting out or want to save money, but it can be tricky to keep the heat and pressure even.
Here’s a quick comparison to help you decide:
| Feature | Heat Press | Iron |
|---|---|---|
| Efficiency | Transfers designs onto multiple fabrics at once | Transfers one design at a time |
| Consistency | Applies consistent pressure and temperature | Inconsistent temperature and pressure |
| Durability | More durable transfers | Less durable, may peel or fade |
| Cost | More expensive | Cheaper and easy to find |
| Size | Larger and bulkier | Small and easy to store |
Using a heat press can make your work look more professional. If you want to impress customers or friends, this tool gives you an edge.
Heat Transfer Vinyl (HTV)
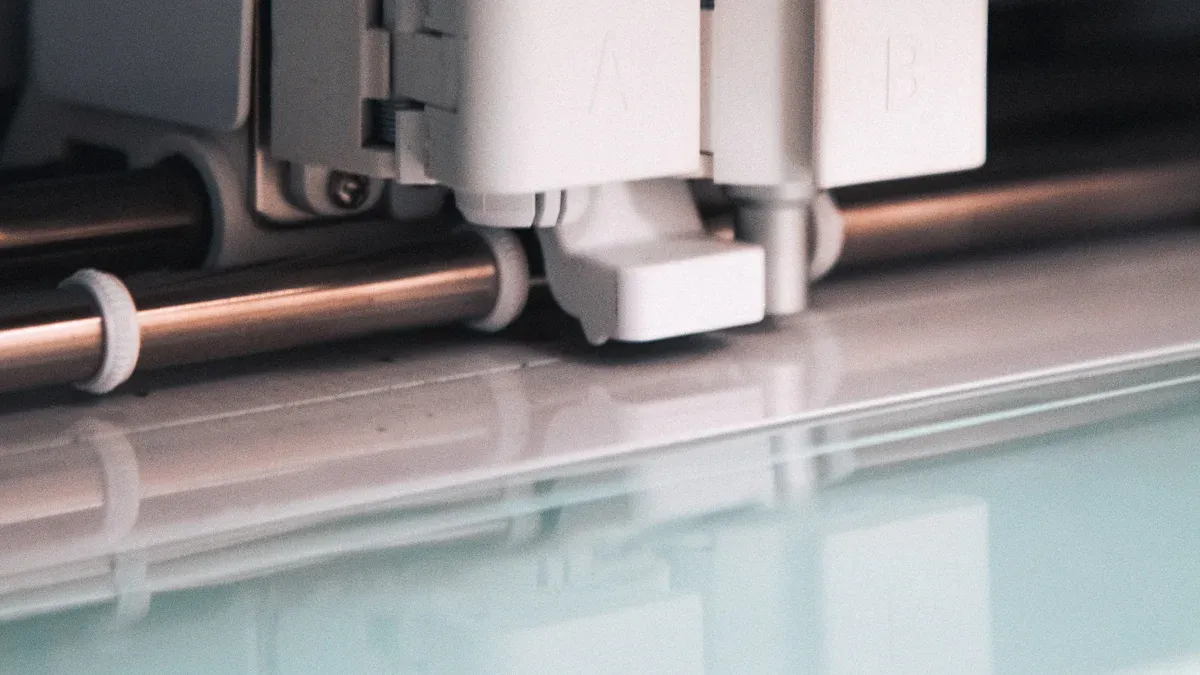
Pick heat transfer vinyl that works well with water-resistant materials. Some vinyl has special glue that sticks to nylon, leather, or coated fabrics. This type of vinyl helps your design stay put, even when the bag gets wet. You’ll also need a plotter or cutting machine to shape your design, plus your favorite artwork.
- Heat Press Machine
- Plotter (for cutting vinyl)
- Artwork and Designs of Choice
- Transfers or Vinyl of Choice
- Heat Press Accessories
Tip: A basic setup with HTV can cost less than $1000, but you might spend more if you want extra features or tools.
Non-Stick Sheet or Parchment Paper
Always use a non-stick sheet or parchment paper between your heat source and the bag. This layer protects your bag and your tools from sticky messes or ink stains. It also helps your design transfer cleanly.
| Feature | Description |
|---|---|
| Purpose | Protects your heat press from leftover ink or vinyl during printing |
| Compatibility | Works with all types of transfers, including sublimation and HTV |
| Alternative Use | Can be used like butcher paper for transferring designs |
Note: Don’t skip this step! It keeps your waterproof bag safe and your design looking sharp.
Heat Printing Steps

Ready to bring your design to life? Follow these steps to make sure your waterproof bag looks amazing and lasts a long time.
Preheat the Bag
Start by preheating your bag. This step helps remove any moisture and smooths out wrinkles. Set your heat press or iron to 305° F. Place the bag on the press or ironing board. Preheat the area where you want to put your design for about 5 seconds. This quick step gets the surface ready for the vinyl.
Tip: Always use a non-stick sheet or parchment paper between the heat source and your bag. This protects the waterproof coating from melting or sticking.
Position the Design
Now it’s time to place your design. Lay your cut vinyl design on the preheated spot. Make sure it faces the right way. You want the sticky side down and the design facing up. Try not to use pins because they can poke holes and ruin the waterproof layer. Instead, use pattern weights to hold your design in place. If you don’t have weights, you can use small objects like washers or coins.
Take a moment to double-check the placement. A crooked design can be hard to fix later. If you want, you can lightly trace around the design with chalk to help guide you.
Apply Heat & Pressure
Once your design is in place, cover it with a non-stick sheet or parchment paper. This step keeps your bag safe from direct heat. If you use a heat press, press down with even pressure for 10-15 seconds. If you use an iron, move it in a slow, circular motion over the design for 10-15 seconds. Make sure you press every part of the design, especially the edges.
Note: Pressing too long or using too much heat can damage the bag. Stick to the recommended time and temperature for best results.
Cool & Peel
Let your bag cool down before you peel off the vinyl backing. This helps the design stick better and last longer. Wait until the area feels cool to the touch. Then, slowly peel away the carrier sheet. If you see any edges lifting, cover the design again and press for a few more seconds.
You can press the design one more time with the non-stick sheet for extra hold. This step makes sure your design stays put, even when your waterproof bag gets wet.
🎉 Now your bag is ready to use! Show off your custom design and enjoy your one-of-a-kind creation.
Tips & Troubleshooting
Avoid Heat Damage
Heat can be tricky when you work with a waterproof bag. If you use too much heat or press for too long, you might melt the coating or warp the fabric. You want your design to stick, but you also want your bag to stay strong and waterproof.
Here are the most common mistakes to avoid:
- Insufficient Temperature Control: Always check your heat press or iron with a temperature gun. This helps you keep the right temperature for the vinyl to stick.
- Incorrect Pressure Application: Too much or too little pressure can ruin your transfer. Adjust your settings based on the bag’s material and the type of vinyl you use.
- Improper Placement: Take your time to line up your design. A crooked or off-center print can look unprofessional.
Tip: Test a small area first if you’re not sure how much heat your bag can handle. If the bag feels sticky or changes color, lower the temperature.
Work Around Seams
Seams and zippers can make heat printing a challenge. They create bumps that stop your press or iron from laying flat. This can lead to uneven designs or spots that don’t stick.
- Place a folded towel or pressing pillow inside the bag. This helps create a flat surface for your design.
- Avoid placing your design right over thick seams or zippers.
- If your bag has inside pockets, check that nothing is bunching up under your print area.
Note: Always double-check the area before pressing. A smooth surface gives you the best results.
Fix Peeling Designs
Sometimes, parts of your design might start to peel after pressing. Don’t worry! You can fix most peeling vinyl with a few simple steps:
- Place a Teflon sheet or parchment paper over the lifting vinyl.
- Repress at the correct temperature and pressure for 5–10 seconds.
- Let it cool if your vinyl is a cold peel type, then press again with more pressure if needed.
- For small corners, use a mini iron or heat-resistant tool to touch up just those spots.
If you see peeling, act fast. Fixing it right away helps your design last longer.
You now know how to heat print your own waterproof bag. Here’s a quick recap:
- Pick the right bag—polypropylene, nylon, or polyester work best.
- Start with a low temperature and test before printing.
- Use parchment paper or a Teflon sheet to protect your bag and press.
- Clean the bag and follow the right heat and pressure settings.
Try different designs and bag types. Keep your bag looking great by cleaning it often and checking the seams. Ready to get creative? Start personalizing your waterproof bag today! 🚀
FAQ
Can you wash a heat-printed waterproof bag?
You can wash your bag by hand with cold water and mild soap. Avoid scrubbing the design. Let it air dry. Do not use a dryer or bleach. This keeps your design looking fresh.
What if the vinyl starts to peel after a few uses?
If you see peeling, place parchment paper over the design. Press it again with gentle heat for a few seconds. Let it cool. This usually fixes the problem. If not, try a stronger vinyl next time.
Can you use any iron for heat printing?
Most household irons work. Set the iron to “cotton” or medium-high. Turn off the steam. Always use parchment paper between the iron and the bag. This protects your design and the bag.
Will heat printing damage the waterproof coating?
Too much heat can melt or weaken the coating. Always test a small spot first. Use the lowest temperature that works. Protect the bag with parchment paper. This helps keep the waterproof layer safe.
What designs work best on waterproof bags?
Simple shapes and bold colors look great. Avoid tiny details or thin lines. These can peel or fade faster. Try using your initials, a logo, or a fun icon for the best results.
See also
Certifications to Look for When Choosing a Waterproof Bag Manufacturer
What Most People Get Wrong About Waterproof Bags
Camping Waterproof Bag Storage Tips Every Camper Should Know


Comments are closed