How To Calculate The Required Bag Size
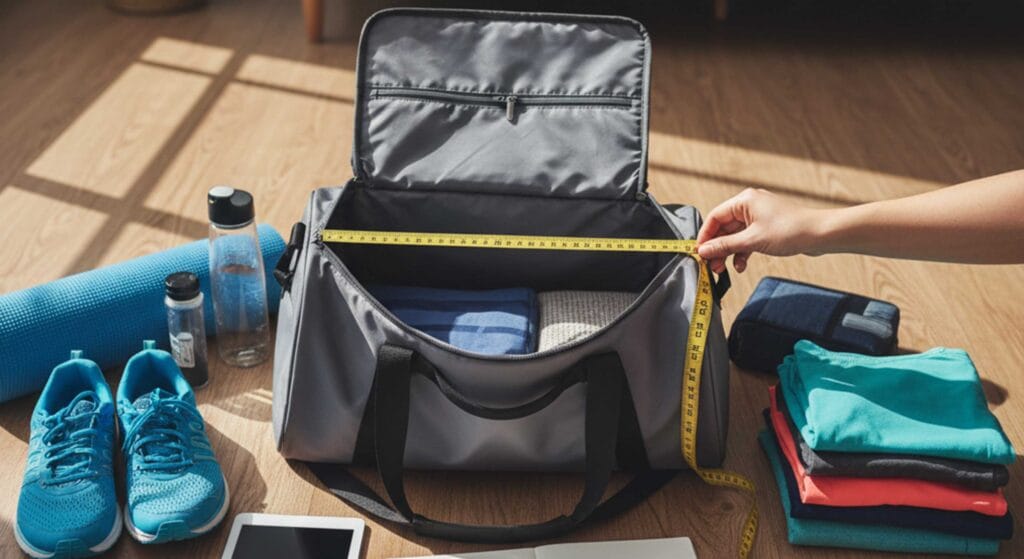
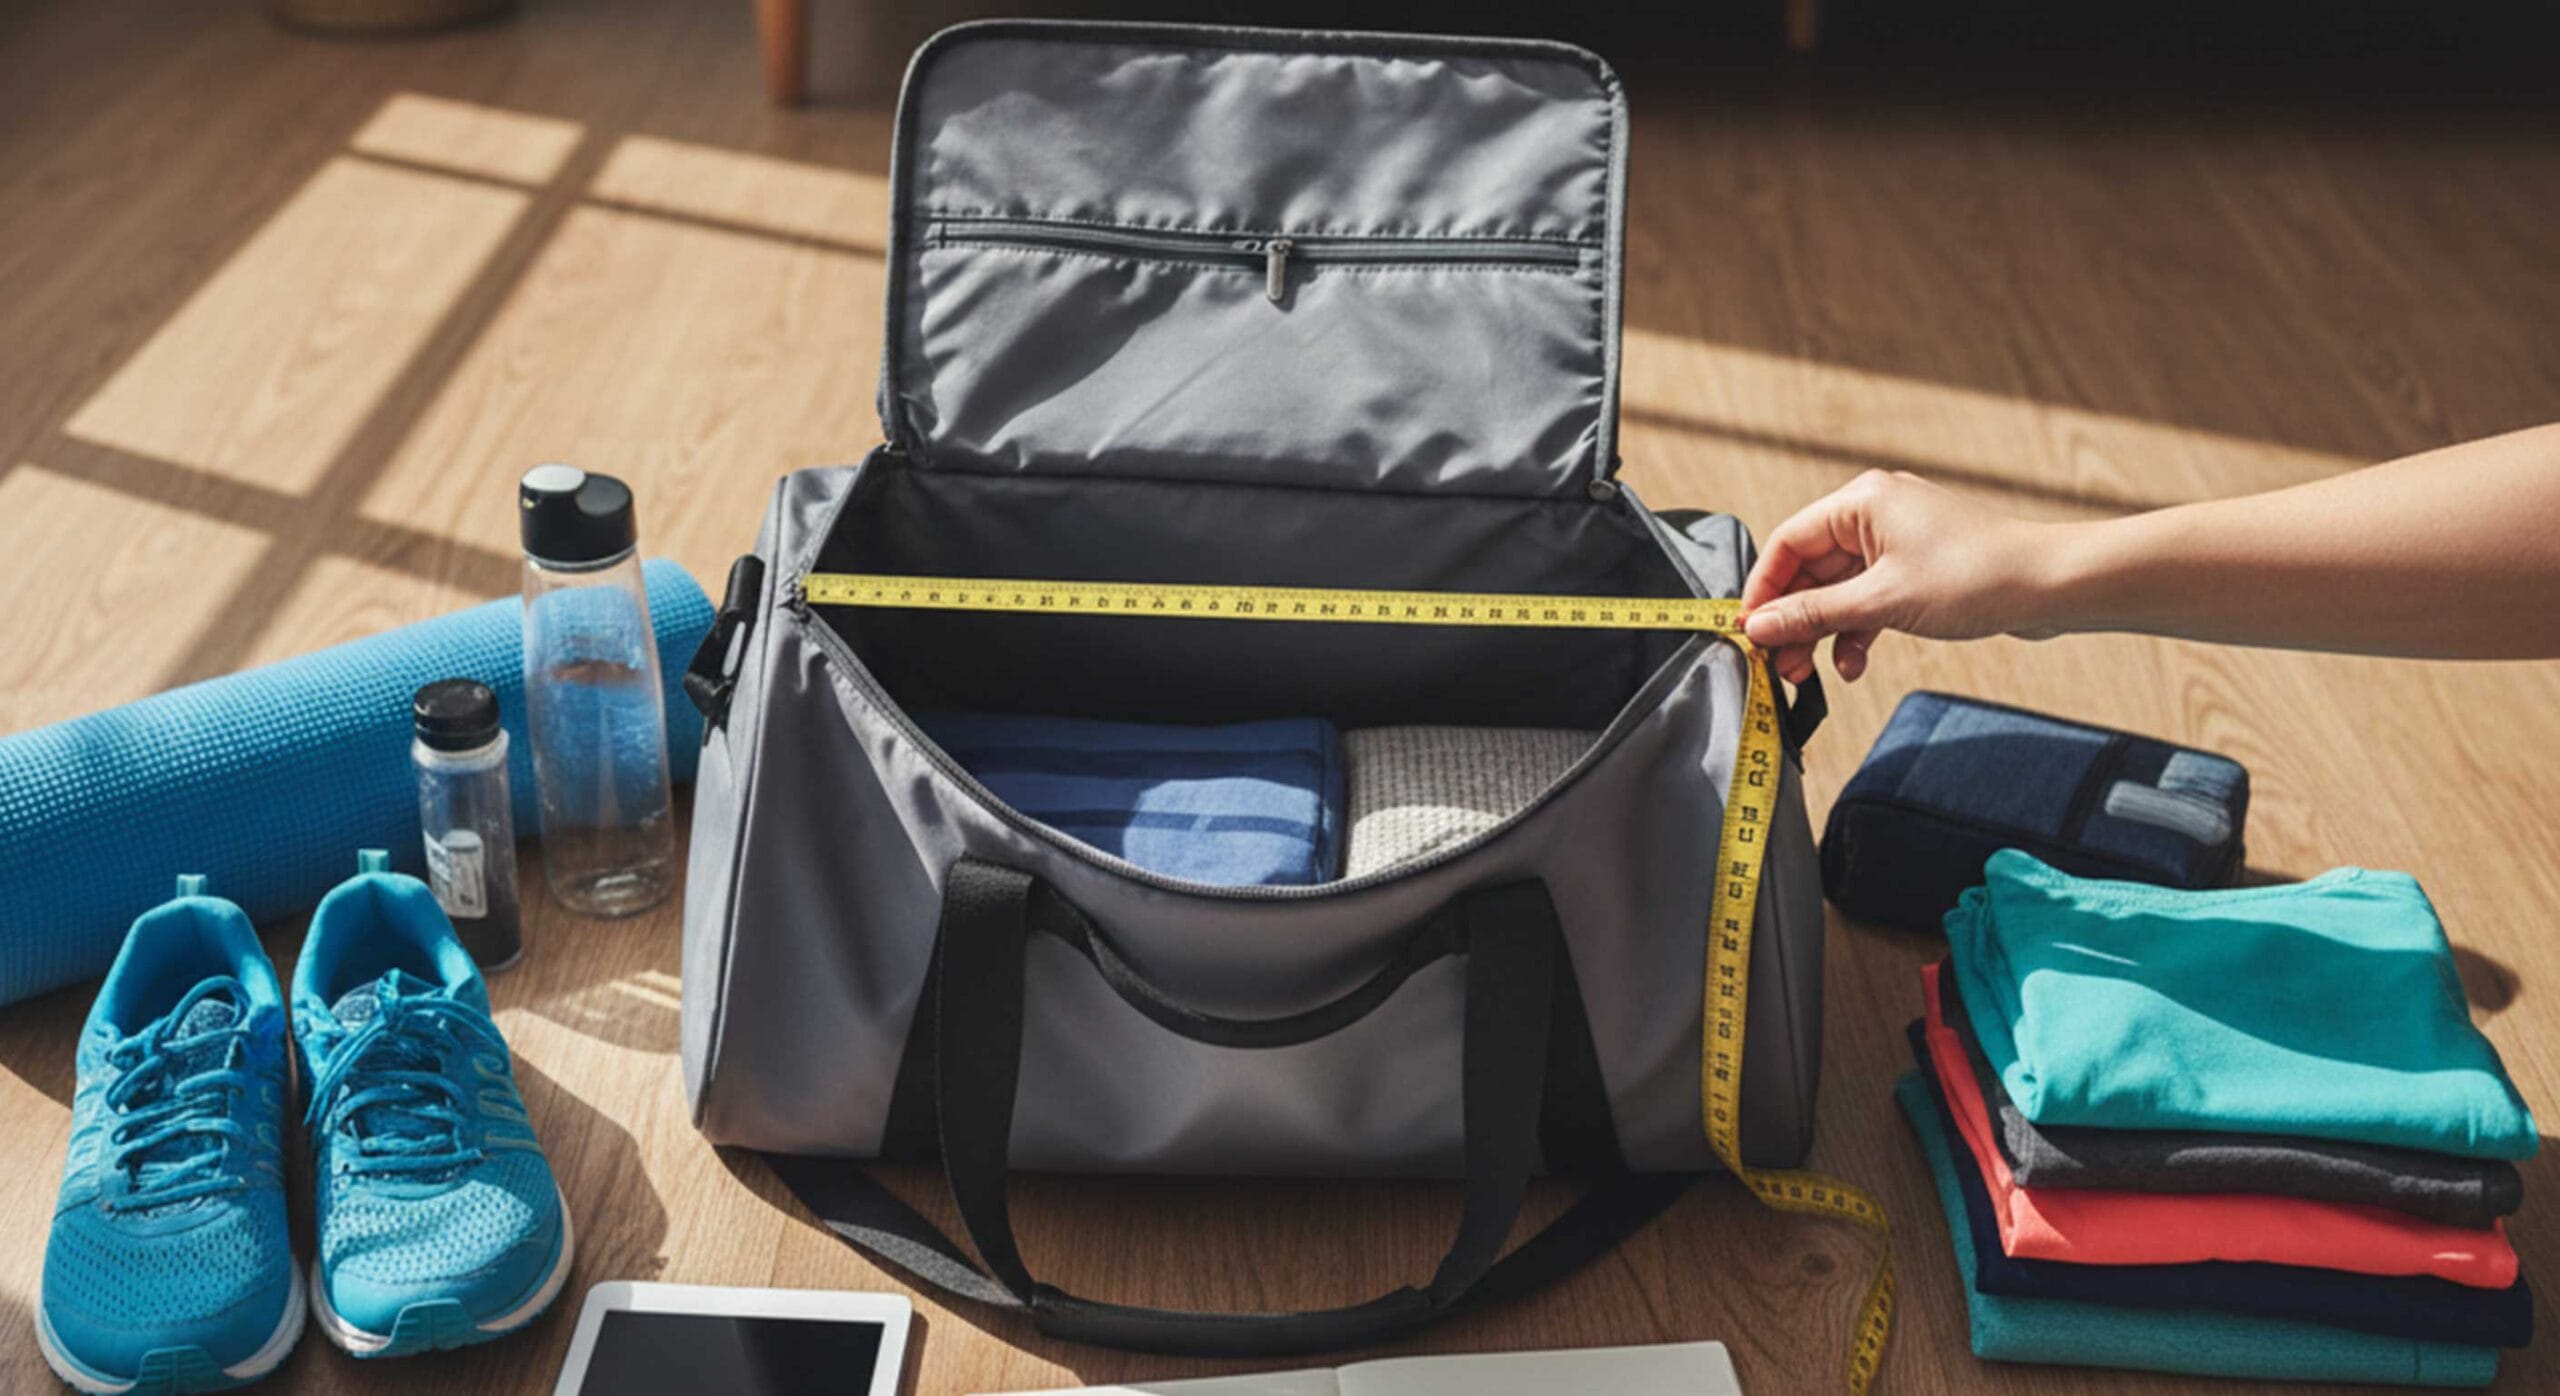
You want to get the right bag size, so start by measuring width, length, and thickness. Grab a measuring tape and jot down each dimension of your item or container. Pay close attention to bag dimensions—don’t forget depth or handle length, since missing these can throw off your fit. Different bag types, like flat bags, box liners, layflat tubing, and sacks, use their own formulas.
Tip: When measuring, always check the widest point, the height from bottom to top (excluding handles), and the depth at the base. Think about how you’ll use the bag so you pick the best size.
Key Takeaways
- First, measure the width, length, and thickness of your item. Getting the right measurements helps you pick the right bag size.
- Always add 1 or 2 more inches to your numbers. This extra space makes it easier to pack and stops the bag from being too tight.
- Use the right formula for each type of bag. Different bags, like box liners and layflat tubing, need special math.
- Pick the right thickness for what you are packing. Thicker bags work better for heavy or sharp things.
- Write down your best measurements. This will save you time and help you pack better next time.
Bag Dimensions and Measurement
Measuring Width and Length
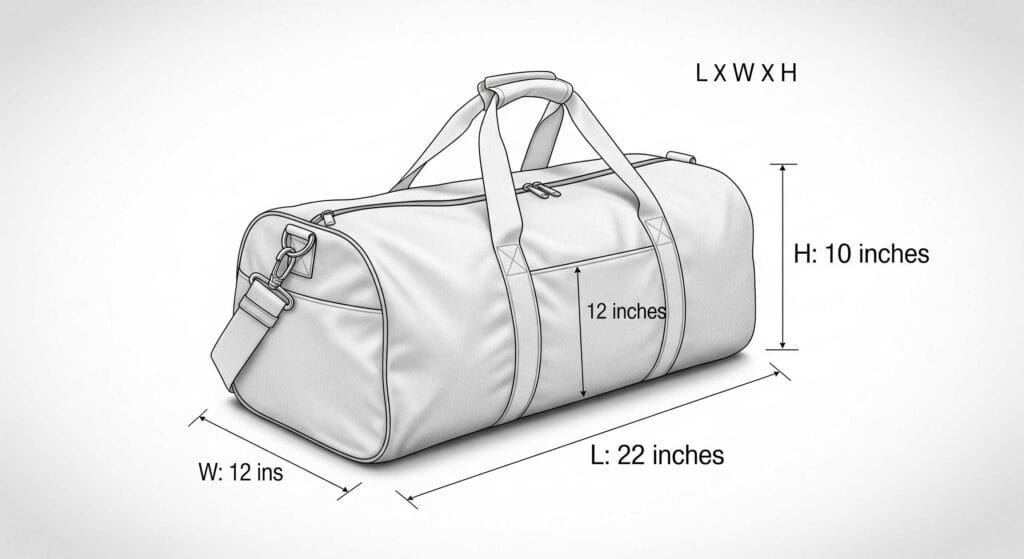
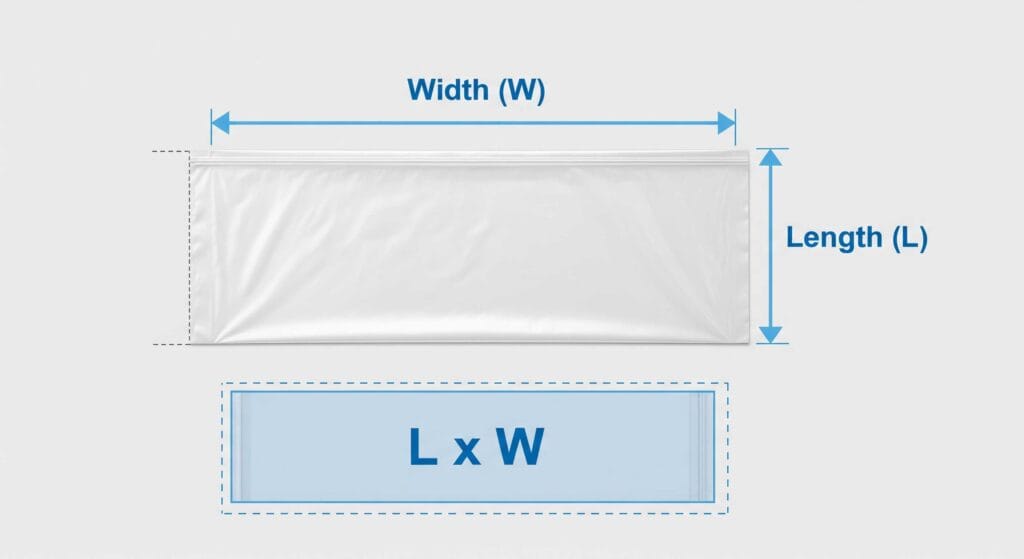
To get the right bag size, you need to measure your item. Start by finding the widest part. Measure from side to side. Then, measure from the top to the bottom. Use a measuring tape for this. Write down each number you get. If the bag has a lip, measure the width at the very top. For the length, start at the lip and go to the bottom. This helps you avoid a bag that is too small.
Here’s a table that shows how different places list bag sizes:
| Measurement Standard | Format Example |
|---|---|
| International | 400 x 200 x 300 (H) mm |
| Spanish | 600/400 x 300 mm |
| Importance | Precision in dimensions is crucial for product fit and protection during transport. |
Some bags show their size in a special order. Always check if the height comes last. This helps you keep your measurements correct.
Tip: Add one or two extra inches to your numbers. This gives you more space and makes packing easier.
Be careful where you start and stop measuring. The table below shows the best places to measure:
| Dimension | Measurement Location | Description |
|---|---|---|
| Width | Lip | Measured at the top edge of the bag. |
| Length | Body | Measured from the lip to the bottom of the bag. |
| Thickness | N/A | Expressed in micrometers. |
If you want a loose fit, add more space to your bag size. This is good for big or odd-shaped things.
Calculating Thickness
Thickness is important for strength and how much the bag can hold. Pick the right thickness for what you need. Thin bags are good for light things. Thick bags are better for heavy or sharp things.
To check thickness, use a micrometer or caliper. These tools give you exact numbers. Here are some tools you can use:
| Tool Type | Description | Standards |
|---|---|---|
| Micrometers | Ideal for measuring thin films and sheets with high precision. Requires consistent pressure and calibration. | ASTM D6988 |
| Ultrasonic Thickness Gauges | Measures thickness non-destructively using sound waves. Suitable for various materials. | ASTM D6132 |
| Non-Contact Capacitance Gauges | Provides real-time thickness measurements during production without physical contact. | N/A |
- Use tools like micrometers and calipers for best results.
- Make sure to check your tools often and keep them set right.
- Follow the same steps each time to get good measurements.
Thickness changes how much weight your bag can hold. The table below shows how different materials and thicknesses affect strength:
| Bag Type | Thickness | Durability | Carrying Capacity |
|---|---|---|---|
| LLDPE | Enhanced | High | Suitable for heavy loads |
| MDPE | Medium | Moderate | Versatile for various applications |
| HDPE | Strong | Very High | Ideal for heavy or sharp items |
Bags for stores are thin. Food bags are thicker. Industrial bags are the thickest. Look at this chart to see the difference:
Note: Always match your bag size and thickness to what you need to carry. This keeps your things safe and helps your bag last longer.
If you want to be sure, add a little extra to your size. This helps with fit and comfort. You can use these steps every time you need a new bag, no matter what you are packing.
Box Liners

Box Liner Formula
When you want to line a box, you need to get the right bag dimensions. You can use a simple formula to figure out the size you need. Start by measuring your box’s length, width, and height. Then, use these formulas:
| Dimension Type | Formula | Example Calculation |
|---|---|---|
| Width of bag | Length (L) + Width (W) + 2″ | 16″ + 6″ + 2″ = 24″ Wide |
| Length of bag | Width (W) + Height (H) + 2″ | 6″ + 20″ + 2″ = 28″ Long |
This method works for most box shapes. If you have a box that measures 16 inches long, 6 inches wide, and 20 inches high, your liner should be 24 inches wide and 28 inches long. You can check the table below for more examples:
| Box Dimension (L x W x H) | Width of Bag | Length of Bag |
|---|---|---|
| 16″ x 6″ x 20″ | 24″ | 28″ |
| Common Box Sizes | Recommended Bag Sizes |
Tip: Always add a little extra to your measurements. This helps the liner fit better and makes packing easier.
Measurement Steps
You can follow these steps to get the perfect box liner:
- Measure the inside length, width, and height of your box.
- Write down each number.
- Use the formulas above to calculate the bag dimensions.
- Double-check your math.
- Choose a liner with a little extra space for comfort.
Here are some common mistakes you should avoid:
- Overlooking flute type. This can change the fit of your liner.
- Mixing up internal and external measurements. Always use the inside measurements.
- Not thinking about box capacity. Focus on the space inside, not just the outside.
If you follow these steps, you’ll get a liner that fits well and protects your items. You’ll save time and avoid wasted materials. 😊
Layflat Tubing
Tubing Width Calculation
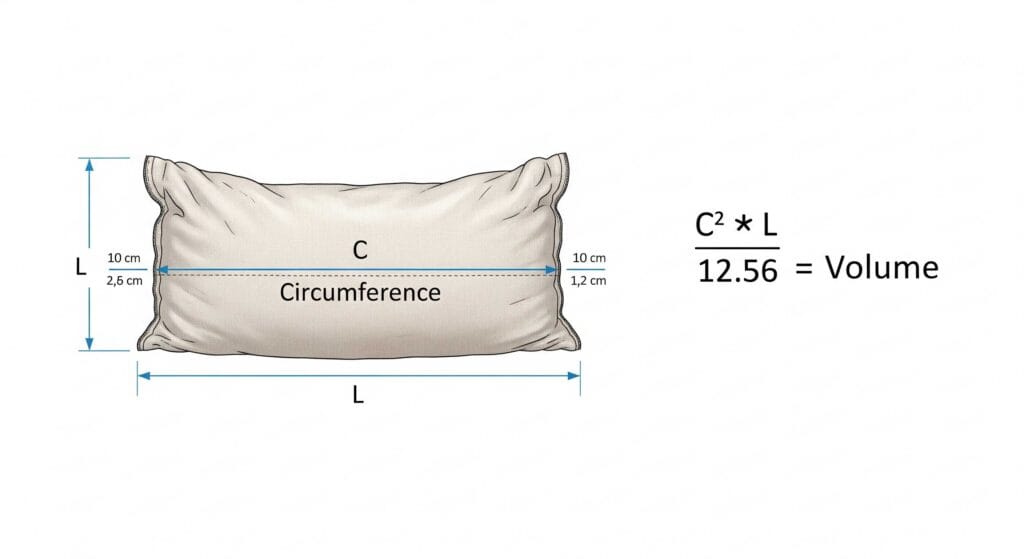
If you need to package something long or cylindrical, layflat tubing is a great choice. You want to make sure the tubing fits your item without being too tight or too loose. To figure out the right width, you can use a simple formula. First, measure the diameter of your item. Then, multiply that number by 3.1416 (which is Pi) and divide by 2. This gives you the layflat width you need.
Here’s how you do it:
- Measure the diameter of your item.
- Multiply the diameter by 3.1416.
- Divide the result by 2.
Let’s look at an example. If your item has a diameter of 10 inches:
- 10 x 3.1416 = 31.416
- 31.416 ÷ 2 = 15.708
You should round up to the next available tubing size. If 15 inches is too small, go for 18 inches. This way, your item will fit comfortably inside the tubing.
| Step | Calculation | Result |
|---|---|---|
| Measure diameter | 10 inches | 10 |
| Multiply by Pi | 10 x 3.1416 | 31.416 |
| Divide by 2 | 31.416 ÷ 2 | 15.708 |
| Choose tubing size | Next available (18″) | 18 inches |
Tip: Always round up to the next standard size. This helps you avoid a tight squeeze and makes packing easier.
Fit Adjustment
Getting the right fit is important. If you want a looser fit, add 2 extra inches to your calculation. This gives you more room for packing and makes it easier to slide your item into the tubing. You can use this method for different bag dimensions, especially when you have bulky or odd-shaped items.
Here are some quick tips for adjusting the fit:
- Add 2 inches to your width for a looser fit.
- If your item has sharp edges, choose thicker tubing for extra protection.
- For long items, make sure the tubing is long enough to cover the whole product.
Note: Always check the available tubing sizes before you order. Standard sizes make it easier to find the right fit.
If you follow these steps, you’ll get tubing that fits well and protects your items. You’ll save time and avoid wasted material. 😊
Sack Volume
Volume Formula
To choose the right sack size for bulk materials, you need to know how much space your product takes up. There is a simple formula you can use:
Required Volume (cu ft) = Desired Weight (lbs) ÷ Product Density (lbs/cu ft)
This formula tells you how much volume your sack should hold. First, find out your product’s weight and its bulk density. You can look for the density on the label or ask your supplier.
Here’s a table to help you with the steps:
| Step | Description |
|---|---|
| 1 | Find Product Volume using Product Weight and Product Bulk Density. |
| 2 | Figure out FIBC Dimensions based on the volume and bag capacity you want. |
Let’s look at an example:
- You have 1.1 pounds of powder.
- The powder fills 0.03 cubic feet.
- Bulk Density = 1.1 lbs ÷ 0.03 cu ft = 36.7 lbs/cu ft.
If you want to pack 50 lbs of this powder, use the formula:
- Required Volume = 50 lbs ÷ 36.7 lbs/cu ft ≈ 1.36 cu ft
So, you need a sack that can hold at least 1.36 cubic feet.
Tip: Always round up your volume. This makes sure your sack is not too tight. It also helps with filling and sealing.
Weight and Density
Product density is important when picking a sack. If your material is heavy and dense, you need less space. If it is light and fluffy, you need a bigger sack.
The higher your materials’ density, the less space you need. You must do your math right so the bulk bag can hold your material safely.
Here’s how density changes your packaging:
| Aspect | Impact of Bulk Density |
|---|---|
| Capsule Sizing | Good bulk density data stops overfilling and packaging problems. |
| Shipping Volume | Wrong numbers can make shipping cost more than you expect. |
| Material Handling | Changes how you pick packaging and plan for shipping. |
- Bulk density changes how powders or grains move through machines.
- If you guess bulk density too low, you might not have enough sacks.
- If you guess too high, your sacks may be too small for the weight.
- Higher density means you need a smaller sack.
- Sometimes, regular math misses things, so check your work.
- Getting density right helps you pack safely and quickly.
If you measure density well, you avoid overfilled sacks or wasted space. You also save money on shipping and keep your products safe while moving them. 😊
Other Bag Types
Re-closable Bags
You might use re-closable bags for snacks, hardware, or craft supplies. Getting the right size and thickness keeps your items fresh and safe. Start by measuring the width at the opening and the length from the zipper to the bottom. If you plan to store food, choose a thicker bag for better protection. Here’s a quick guide to help you pick the right thickness:
| Thickness (Mil) | Recommended Use |
|---|---|
| 1 | Lightweight products for short-term storage |
| 1.5 | Protects items from moisture and heat |
| 2 | Retail packaging for clothing and lightweight items |
| 3 | Food storage and industrial parts, FDA approved |
| 4 | High puncture resistance for sharp metal parts |
| 3-5 | Stand up pouches for heating and refrigeration |
| 6 | Heavy-duty protection for bulky or cold items |
Tip: If you want to store sharp or heavy items, pick a bag with higher mil thickness. For food, look for FDA approval.
Slider Top Bags
Slider top bags make opening and closing easy. You need to measure carefully so the slider works well and your items fit. Follow these steps:
- Measure the length from the bottom of the bag to the bottom of the slider.
- Measure the width from side to side.
- If you have a rigid item, add 1½ inches to the width so it fits through the opening.
- For thick or bulky items, adjust the dimensions to give extra space.
- Add ½ to 2 inches to both measurements for a looser fit.
If you want a bag that closes smoothly, always add a little extra to your measurements.
Backpacks
Backpacks come in all shapes and sizes. You want your bag to fit everything you need without feeling cramped. Here’s how you can measure your backpack for personal items:
- Empty your backpack and fasten all closures.
- Lay it flat and measure the height from the bottom seam to the top, including handles.
- Find the widest point and measure the width, flattening any bulges.
- Press the side panels flat and measure the depth from front to back.
- Calculate the volume: Height × Width × Depth (in cubic inches). Divide by 61 to get liters.
If you carry books, laptops, or sports gear, measure each item and check if they fit inside your backpack’s volume.
You can use these steps for specialty bags or odd-shaped items. Always add a little extra space for comfort and easy packing. 😊
Getting the right bag size starts with careful measuring. You should always check the length, width, and depth, including handles or wheels. Double-check your numbers before you order. Use the right formula for each bag type to avoid wasted space and extra costs.
If you use the wrong size, you might face damaged products or higher shipping fees.
Keep a record of your best measurements. This habit saves time and helps you pack smarter next time!
FAQ
How do I know if I need to add extra space to my bag size?
You should add 1–2 inches to your measurements if you want an easier fit. This helps when you pack bulky or odd-shaped items. It also makes sealing and removing items much simpler.
What tool should I use to measure bag thickness?
Use a micrometer or a caliper for the most accurate results. These tools help you check the thickness in mils or microns. Always measure at several points for the best accuracy.
Can I use the same formula for all bag types?
No, each bag type has its own formula. Flat bags, box liners, and layflat tubing all use different calculations. Always check which formula matches your bag before you order.
What if my item is an odd shape?
Measure the longest, widest, and tallest parts of your item. Add extra space for comfort. If you are unsure, choose a bag one size larger to make packing easier.
How do I convert bag volume from cubic inches to liters?
Use this formula:Liters = Cubic Inches ÷ 61
For example, 610 cubic inches equals 10 liters. This helps you compare bag sizes more easily.


Comments are closed